Quick Tip: Boost Opt-ins with Contact Form 7 for WordPress

You might have heard the saying, “the money is in the list”. Your email list, to be exact. Email marketing is widely considered to be the most powerful form of marketing today, and there are plenty of stats to back it up.
A big email subscriber base gives you a lot of power. You have an audience at your fingertips who like your brand and are ready to invest in it. If you have any sort of product or service, an email list is invaluable to you.
The problem? It can be difficult to get email addresses. Some people hate popups with a passion and won’t give them the time of day. Even if you offer something great in exchange for an email address, some people may not be interested.
One particularly effective method of getting email addresses is to include an auto-checked box in your contact form. Whenever someone contacts you through the form, there will be a pre-checked box that automatically signs them up for your newsletter. Of course, they can uncheck it if they want to, but many people don’t.
In this article, I’ll show you how to use the free and highly versatile Contact Form 7 plugin for WordPress to create an auto-checked box that will help your email list grow by leaps and bounds.
I’d recommend checking your local spam laws and regulations before implementing this. I’d be interested to hear more about your thoughts and preferred approach in the comments below.
What you’ll need:
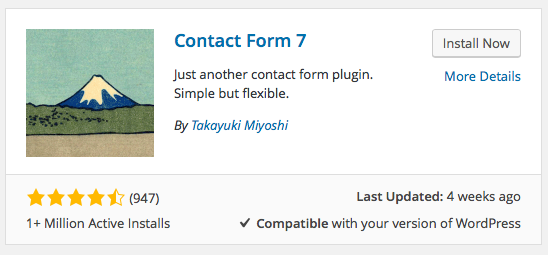
Contact Form 7
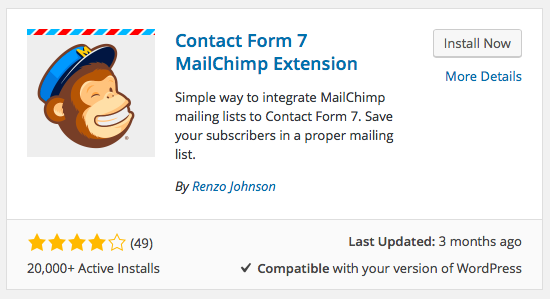
Contact Form 7 MailChimp extension
How to Create an Auto-Checked Optin Box
1. Create a New Contact Form
In your Dashboard, navigate to ‘Contact’ > ‘Add New’. You’ll see a text field where you can code your contact form. The plugin conveniently provides several handy choices. All you have to do is click on the element you want (a drop-down menu, for example), modify it to your liking, and then click ‘Insert tag.’
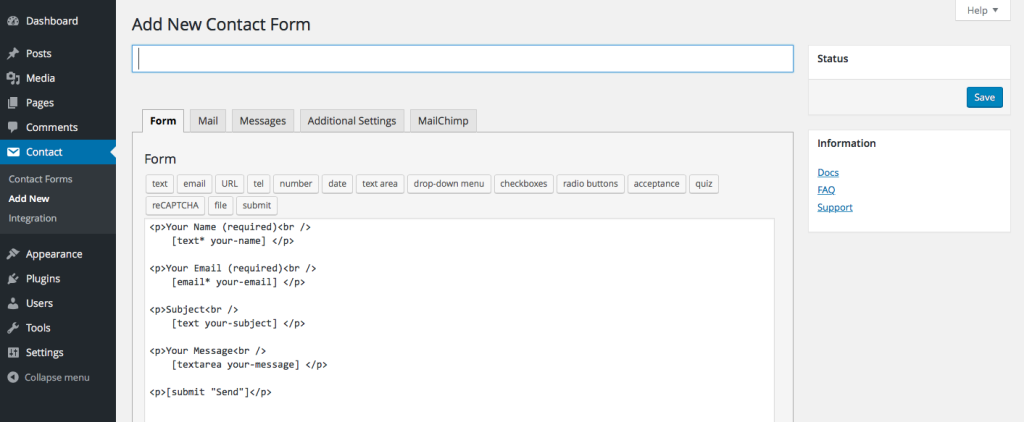
After you’re done creating the form itself, you can head over to the ‘Mail’, ‘Messages’, and ‘Additional Settings’ tabs to further customize your form.
2. Integrate Your MailChimp Account with Contact Form 7
Next, click on the ‘MailChimp’ tab. You’ll see four fields here: ‘Subscriber Name’, ‘Subscriber Email’, ‘MailChimp API Key’, and ‘MailChimp List ID’.

In the ‘Subscriber Name’ field, enter [your-name]. In the ‘Subscriber Email’ field, enter [your-email]. In the other two fields, you simply enter your MailChimp API key and List ID. (Here’s how to find your API key, and here’s how to find your List ID.)
3. Enter the Checkbox Shortcode
Finally, head back to the ‘Form’ tab. You’re going to insert one simple line of shortcode wherever you want the checkbox to appear. Here’s the shortcode:
[mc4wp_checkbox "Sign up for the email list!"]
You can replace the text with any message you’d like, and I recommend replacing it with a compelling phrase that’s targeted to your audience.
Save the form, and you’re all done! Now, whenever someone contacts you and doesn’t uncheck the box, they’ll be signed up for your list.
NB: If you have double optin enabled on your MailChimp account, the sender will still receive an email asking them to confirm their subscription.