Build Custom User Analytics with Parse


Building an analytics dashboard is critical for every business these days. While subscribing to Google Analytics is an obvious choice, sometimes we might have to track events at a more granular level, or build a custom dashboard. Cassandra works great for writing an analytics engine, but adds an additional layer of operational complexity. This is where Parse comes in.
Parse is an IaaS from Facebook. You can use it as a fully functional data store without having to spend any time on the infrastructure. In this article, I’m going to explain how to leverage Parse to build your own custom analytics dashboard. Read on.
Getting Started
We’ll be using the example app that I had created for one of my previous articles as a base. You can download that from here. This app uses mongoid and HAML, but the examples here should work with Active Record and ERB as well. With that out of our way, let’s setup the basics.
First, create a free account with Parse, and set up an app inside it. You will need the Application key and Javascript key which you can find under the Settings tab.
Create a new javascript file analytics.js:
// app/assets/javascripts/analytics.js
var CustomAnalytics = {
    init: function (type){
        Parse.initialize(APP_ID, JS_KEY);
    }
}
and include this in your top level layout:
# app/views/application.html.haml
!!!
%html
    %head
        %title Build Custom analytics with Parse
        = stylesheet_link_tag        'application', media: 'all', 'data-turbolinks-track' => true
        = javascript_include_tag 'application', 'data-turbolinks-track' => true
        = javascript_include_tag 'vendor/parse', 'data-turbolinks-track' => true
        = javascript_include_tag 'analytics', 'data-turbolinks-track' => true
        = csrf_meta_tags
    %body
        = yield
    :javascript
        // Initialize the Analytics first
        CustomAnalytics.init();
We’ve created a namespace called CustomAnalytics, and initialized Parse through an init method. This is preferable to initializing Parse inside the view, as you can initialize multiple analytics providers like Google or Mixpanel, if desired.
Now our app is ready to talk with the Parse servers.
NOTE: Parse has a usage-based subscription model. You might want check out their pricing plans before implementing it.
Tracking Events
Before showing how to build a custom analytics engine, let’s first take a look at Parse’s inbuilt event tracking library, which is similar to Google events. This can help track the arbitrary events in the app to User retention without much work on our part.
In the sample app, there are 2 pages: one showing the list of categories, and the other showing languages. Let’s say I want to track how many users click on the categories:
# app/views/category/index.html.haml

    %h1
     Category Listing
    %ul#categories
        - @categories.each do |cat|
            %li
                %a{:href=>"/category/#{cat['id']}", :class=>'js-category-click'}
                    %h3
                        = cat["name"]
                %p
                    = cat["desc"]
and add this to your layouts file:
# app/views/layouts/application.html.haml
//.......
:javascript
    CustomAnalytics.init();

    $( '.js-category' ).on('click', function(e){
        e.preventDefault();
        var url = e.currentTarget.href;
        Parse.Analytics.track( 'CATEGORY_CLICK', {
            'target': 'category',
        }).then(function(){
                window.location.href = url;
        });
    });
//.............
Here, we’re using Parse’s built-in track method to send events to Parse. It takes 2 parameters: event name, and dimensions. Dimensions are custom data points that we can pass along, which can be used later for filtering reports. This method returns a Promise. We can a success callback to execute once this is completed, in this case, redirecting to the original link.
We’ll have to essentially do the same for tracking events on the language page. But that’s a lot of duplicate code. Let’s refactor this code flow.
Add this to your analytics.js file:
// app/assets/javascripts/analytics.js
var CustomAnalytics = {
    //...
    track: function( name, dimensions, successCallback ){
        Parse.Analytics.track( name, dimensions )
                .then( successCallback );
    }
    //...

}
And change the tracking code in your category.js file:
# app/views/layouts/application.html.haml
//.......
:javascript
    //.......

    $( '.js-category' ).on('click', function(e){
        e.preventDefault();
        var url = e.currentTarget.href;
        CustomAnalytics.track( 'CATEGORY_CLICK', {
            'target': 'category',
        }, function(){
                window.location.href = url;
            })
    });
    //.......
We’re passing the same parameters to the tracking method. This may not look much at first, but it reduces a lot of boilerplate code especially when you have a lot of events in your page.

To view the events that are tracked, go to Analytics -> Events in your Parse dashboard.
As a Custom Datastore
We can use Parse’s cloud data to store our custom data. It works very similar to a NoSQL data store, and is pretty flexible.
To get started, create a new class called CategoryClicks from the Data section in the dashboard. In your application.html.haml:
//.........
function trackCloudData( name, id, type ){
  var CategoryClicks = Parse.Object.extend('CategoryClicks'),
      cloud_data = new CategoryClicks();
  //Custom data
  cloud_data.name = name
  cloud_data.type = type
  cloud_data.id = id

  // This syncs the data with the server
  cloud_data.save();
}

//..........

$( '.js-category' ).on('click', function(e){
        e.preventDefault();
        var $elem = $(e.currentTarget),
      url = $elem.url,
      name = $elem.data('name'),
      id = $elem.data('id');

        CustomAnalytics.track( 'CATEGORY_CLICK', {
              'target': 'category',
          }, function(){
                  window.location.href = url;
        });

  trackCloudData(name, id, type);
    });

//.........
Parse.Object lets us extend the classes created earlier. This is a simple Backbone model and we can set custom attributes on it. When you save this model, it syncs the data with the server.
Now, all the data that you’ve tracked is available from the Parse dashboard.
Store and Retrieve
If we’re building a real time application, we can use the Parse’s JS API to fetch data from the server. But for building a time-series dashboard, this won’t work. We need to aggregate this information from Parse, and transform later according to our needs.
There is no official Ruby client for Parse, but the wonderful gem parse-ruby-client fills in nicely.
Add this gem to the Gemfile:
# Gemfile
gem 'parse-ruby-client'
Once bundle install completes, create an aggregate model to store the daily records:
# app/models/category_analytics.rb

class CategoryAnalytics
  include Mongoid::Document
  include Mongoid::Timestamps

  field :category_id, type: BSON::ObjectId
  field :name, type: String
  field :count, type: Integer

  field :date, type: DateTime
end
Write a simple task which will go through all the categories and get the read query for a specified date. Since this happens over a network call, it might be better if we handle this asynchronously through resque.
And create a new resque task, categoryclickaggregator.rb:
# lib/tasks/category_click_aggregator.rb
class CategoryClickAggregator
@queue = :category_analytics
def self.perform()
Parse.init(:application_id => "APP_ID", :api_key => "API_KEY")
categories = Category.all
yesterday = Date.yesterday
start_date = Parse::Date.new(yesterday.to_time)
end_date = Parse::Date.new(Date.today.to_time)
# Convert the dates to Parse date to play nice with their API
categories.each do |cat|
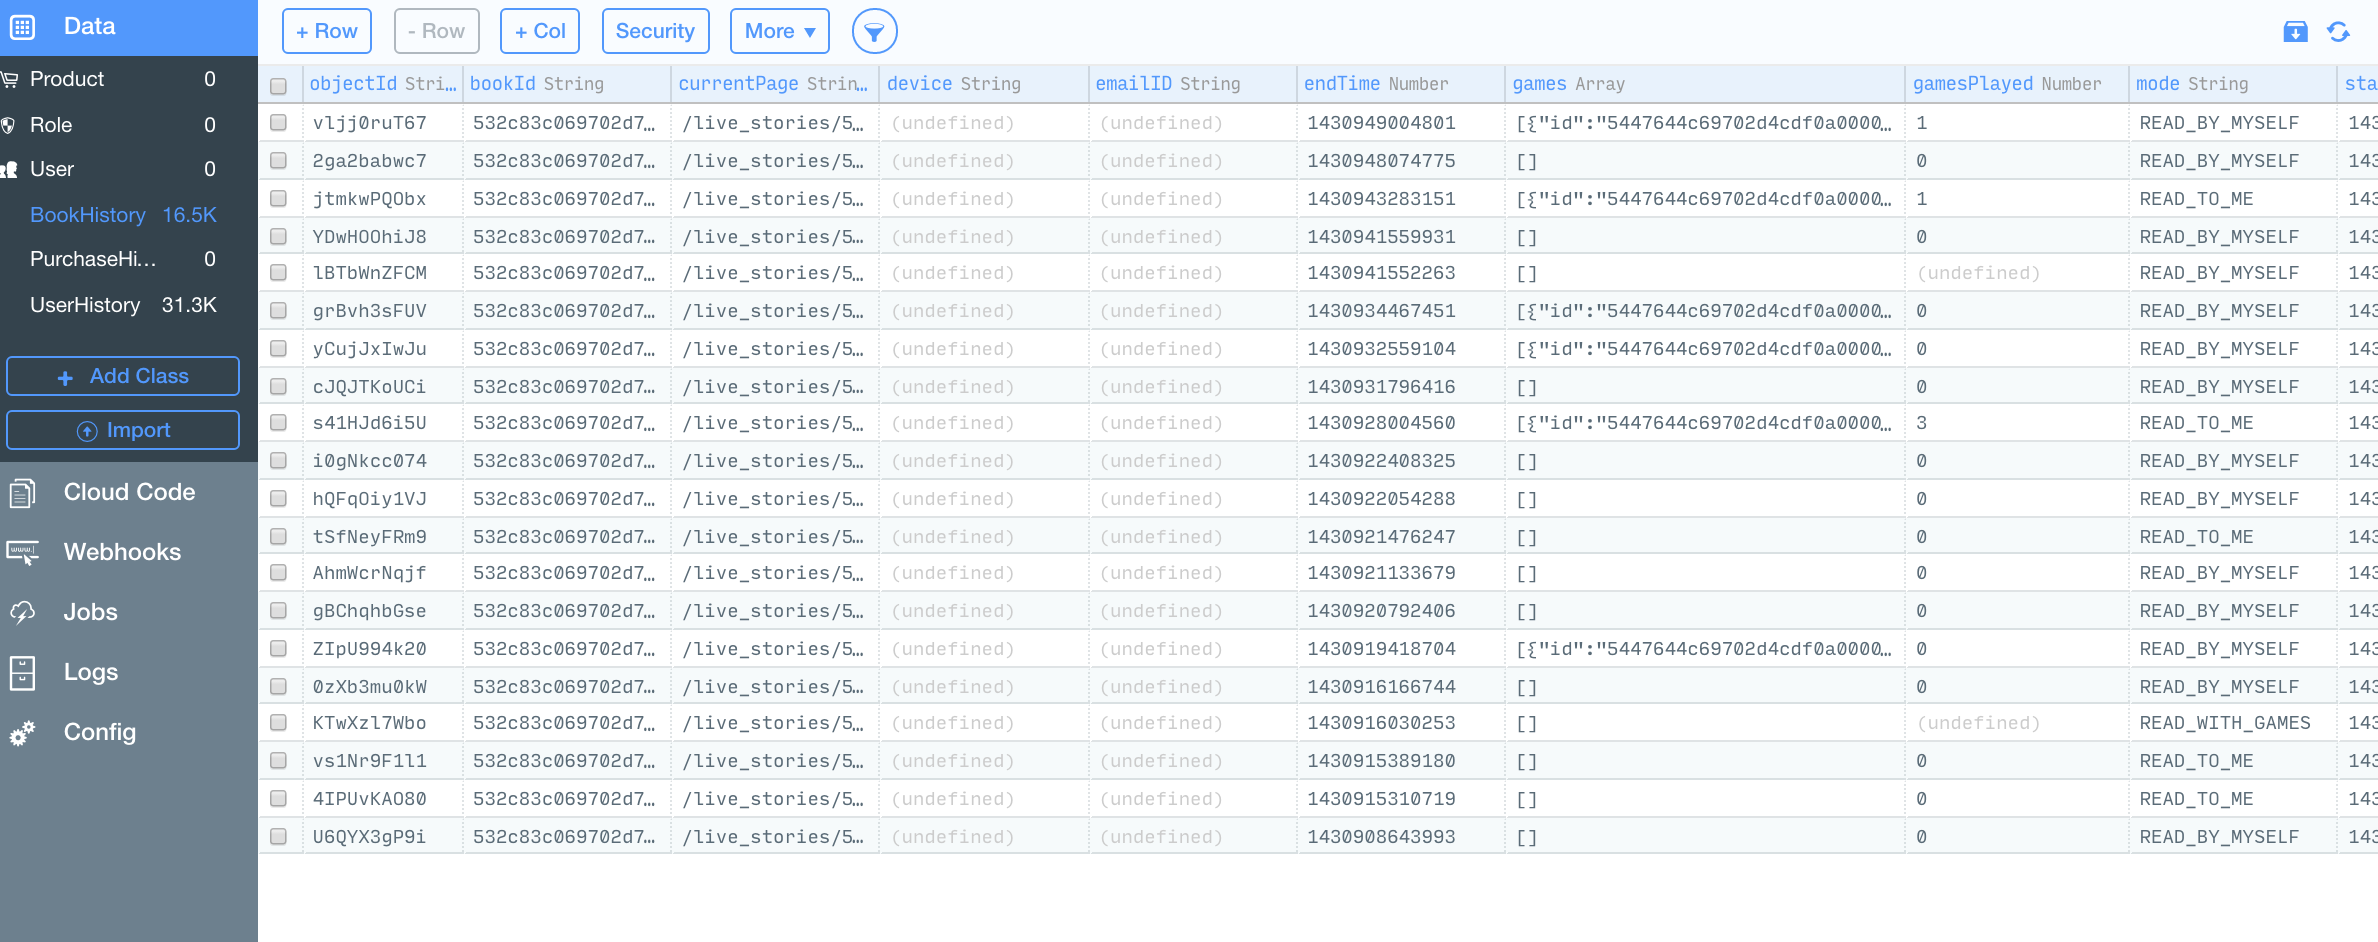
count = Parse::Query.new("BookHistory").tap do |q|
q.eq("category_id", cat.id)
q.greater_eq("createdAt", start_date)
q.less_eq("createdAt", end_date)
end.get.count
# See if this exists already
category_analytics = CategoryAnalytics.find_by(:category_id => cat.id, :date => yesterday )
if category_analytics.nil?
category_analytics = CategoryAnalytics.new
category_analytics.name = cat.name
category_analytics.category_id = cat.id
category_analytics.date = yesterday
end
category_analytics.count = count
category_analytics.save
end
end
endThe Parse::Query module sends a POST request to the Parse servers with the specified filters. We then get the results, aggregate them, and store them in the local database to support generating the time series reports.
This is just a simple demonstration of how to extract data from Parse. In production, however, I’d recommend running a separate job that loops through all the categories and queues the jobs individually. This way tasks can be resumed when they fail instead of the entire pot. Also, as the data grows, we can spawn multiple workers and get things done in parallel fashion.
Limitations
All queries to Parse are paginated and, by default, the page limit is 100. If you have more than 100 records in the result set then the above code will return incorrect results. We can increase the limit manually up to 1000, but that still suffers the same fate as your events grow.
To fix this properly we’ll have to resort to the ugly do..while loop:
total_count = 0
offset = 0
loop do
  count = Parse::Query.new("BookHistory").tap do |q|
    q.eq("category_id", cat.id)
    q.greater_eq("createdAt", start_date)
    q.less_eq("createdAt", end_date)
    q.limit(1000)
    q.offset(offset)
  end.get.count
  total_count+= count
  offset++
  break if count < 1000
end
Wrapping Up
Parse is a great tool, and we have barely scratched its surface. For instance, we can use it to authenticate and track users, use jobs to run custom jobs in the Cloud, and setup web hooks. I hope I’ve peaked your interest with this article. The code used in this article is available here. Feel free to join the discussion in the comments.


