What in the World Is a Reticle? Exploring the Cardboard Unity SDK

Not long after I wrote a guide on using Unity to build Google Cardboard virtual reality experiences, Google updated their SDK to version 0.6 and changed a few things. Most of these changes weren’t too drastic, however there was one rather large change that caused a bit of confusion. The reticle.
What is a Reticle?
It is a rather absurd sounding word that is a synonym for an equally absurd sounding word — a “graticule”. Basically, in our situation it is another way of describing a more advanced form of crosshair or target. It is a series of lines that mark out where our VR camera is pointing. In the Google Cardboard SDK, it is a circle by default, that grows whenever it has a new object in its sights and shrinks back down when it does not see an object in its path.
Reticles in the Old Cardboard SDK (v0.5.2 and Below)
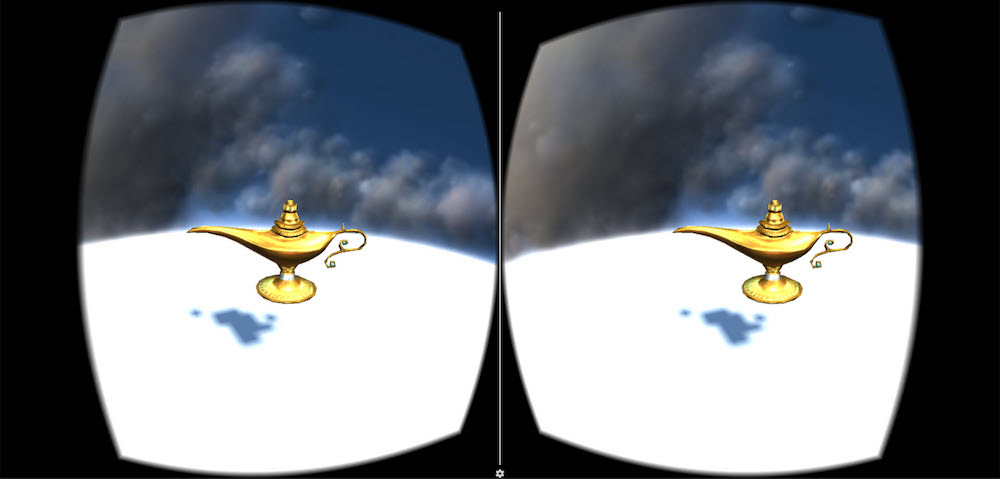
In our previous example within the Building a Google Cardboard VR App in Unity article, we used a target image that looked like so:
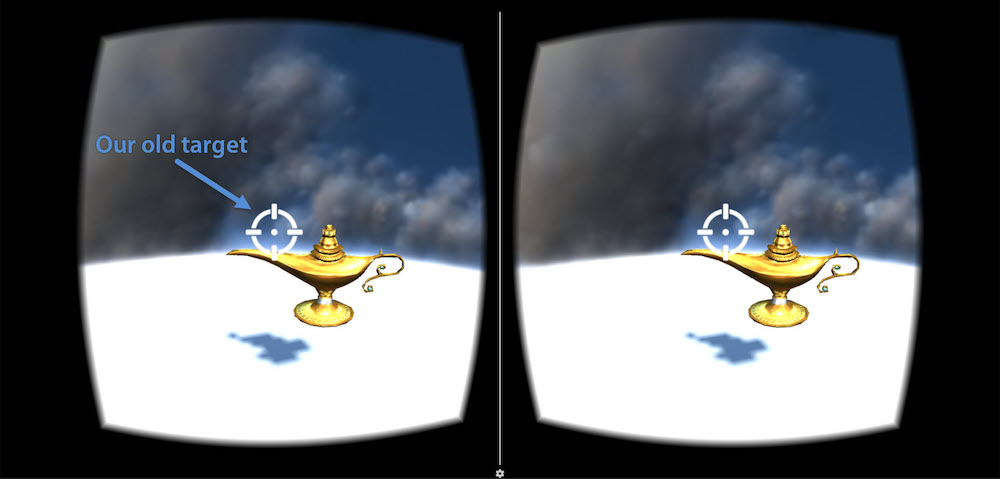
This was basically an image file that appeared whenever you hovered over a clickable object. We could have it represent anything we wanted, so a crosshair made sense. However, Google have changed their approach to one which does not use images any longer! After quite a bit of digging, I couldn’t find a nice and simple way to bring in images once more, however there are a variety of customizations you can do to the Google Cardboard SDK’s new reticle concept that should serve the same purpose.
Updating the Google Cardboard SDK
If you are working with an existing project that uses the old SDK, like the demo built in our last article, here’s a quick guide to upgrading your app.
To start with, you will need to download the latest SDK from the Cardboard SDK for Unity GitHub repo.
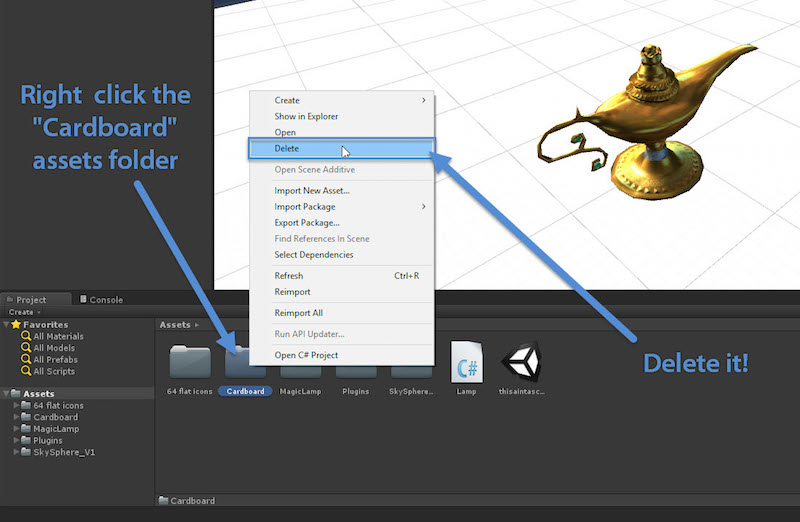
Next, we will want to delete our old Cardboard SDK folder in our assets. Note: Be certain that you have your whole project backed up before upgrading. Also, check that you have not added any of your own custom assets within the “Cardboard” folder before continuing!
Right click your “Cardboard” folder in your assets and choose “Delete”:
Then, reimport your new Google Cardboard SDK by going to Assets > Import Package > Custom Package…:
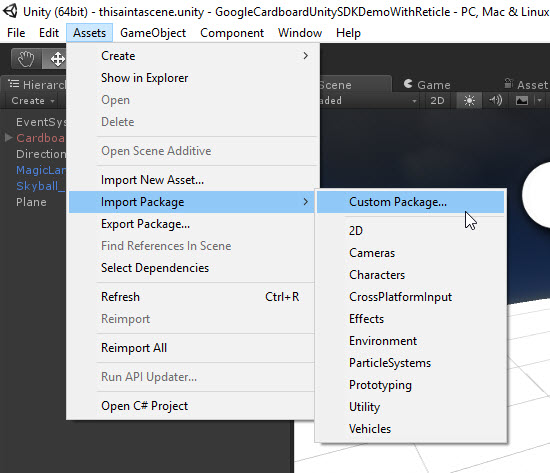
Navigate to your newly downloaded v0.6 Cardboard SDK and select that:

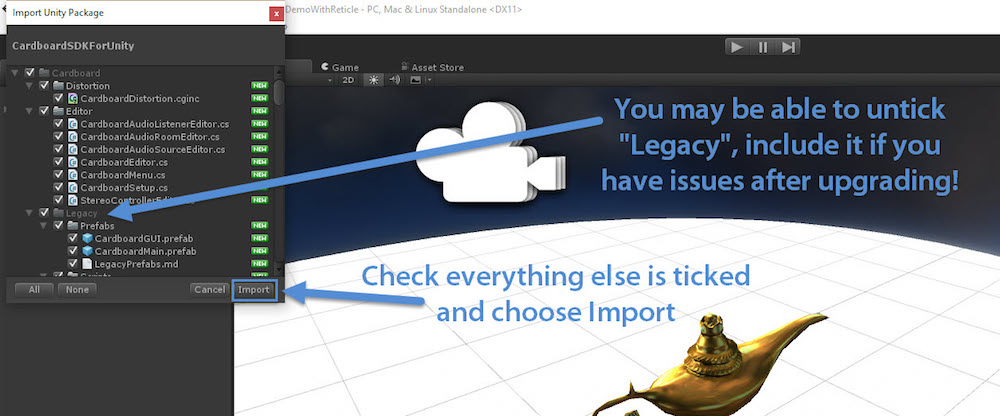
Make sure everything is ticked in the window that appears. You might not need the “Legacy” ones, feel free to untick that and then if you’ve got any issues, import in the rest by repeating this process. I did not need the “Legacy” items when upgrading my project.
If you now play your scene to test, you’ll see everything still works… but any fancy custom crosshair you might have included is missing!
The New CardboardReticle Prefab
Version 0.6 of the Google Cardboard SDK for Unity contains a new prefab called “CardboardReticle”. This appears to be the best option for crosshair style feedback on where the user is looking and is quite simple to set up once you know about it.
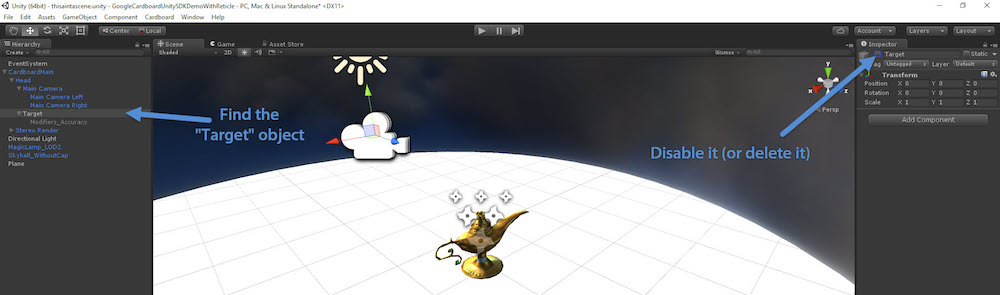
Our first order of business for anyone who is following along from our previous tutorial, is to disable or delete our “Target” game object (it was in CardboardMain > Head > Target). I’ve disabled it in the hope that I’ll come across a way to re-implement an image target in future:
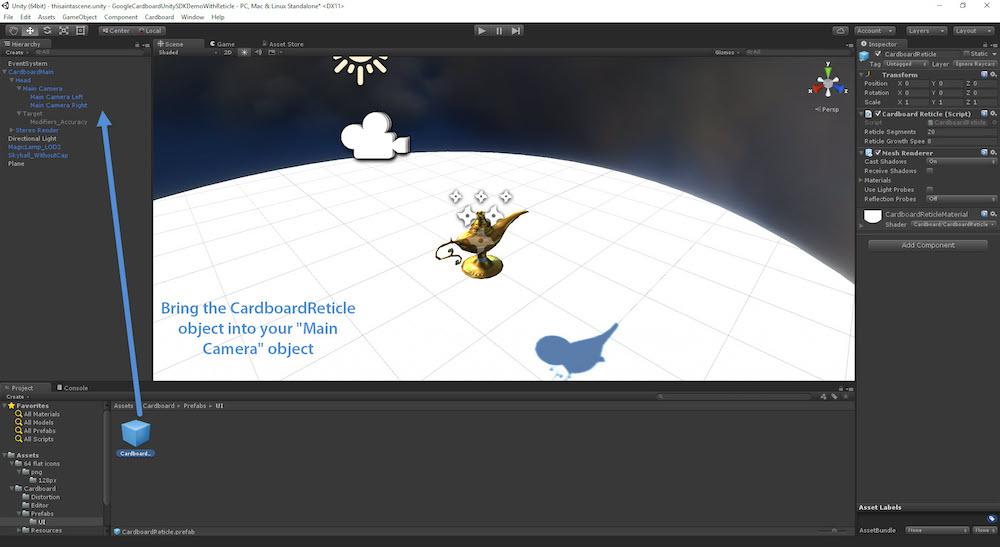
To bring in your new reticle, go to Assets > Cardboard > Prefabs > UI and you will find the “CardboardReticle” prefab. Drag this into the “Main Camera” game object. The CardboardReticle needs to be a child object of the “Main Camera” for this to work.
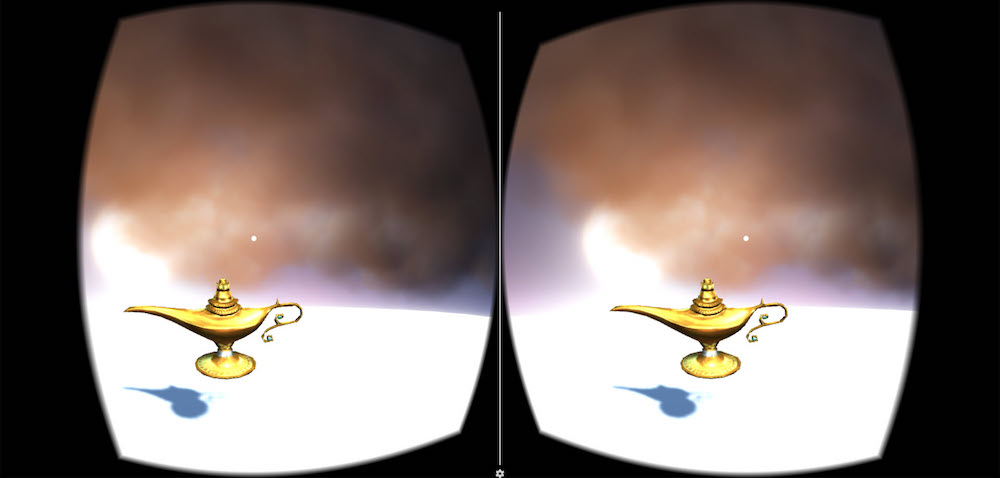
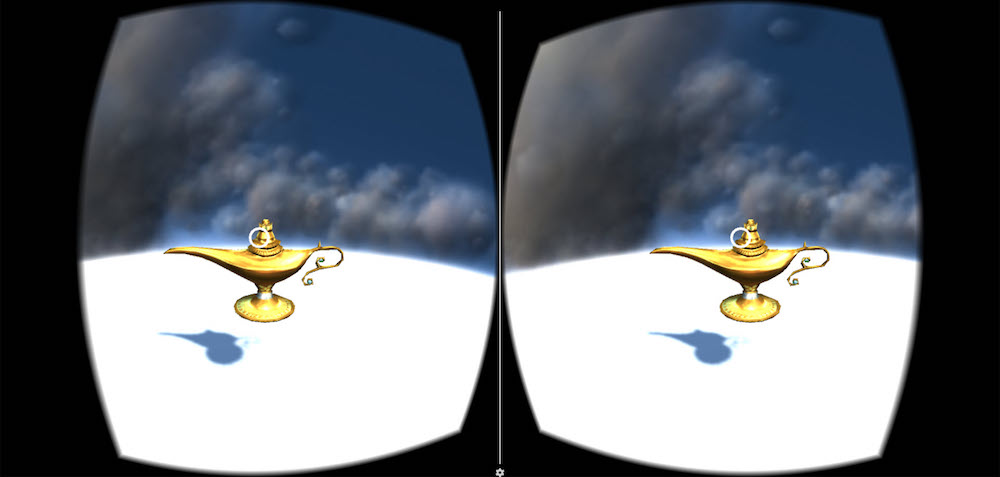
If you play the scene now, you’ll see a small circle following your gaze:
If you hover over an element that can be interacted with, the circle enlarges to show this:
Customizing the CardboardReticle
A circle might not suit your VR app quite as well as other shapes. Or you might want to customize the color. While you can’t set up image crosshairs within here, you can adjust the shape and color of your CardboardReticle.
Making Shapes
The CardboardReticle is made up of a number of segments (lines) which link up to make a shape. By default, the number of segments is 20 which makes a circle shape. If you would like to change the shape, you can adjust the number of segments in the “Reticle Segments” option within your CardboardReticle. Three segments makes a triangle, four makes a diamond, five makes a pentagon, six makes a hexagon and so on:

It is worth noting that you cannot change the number of segments whilst the scene is running — so you’ll need to stop, change the value and then play the scene once more to test out each value.
Reticle Growth Speed
Another option you might want to adjust is the speed at which the reticle grows when it reaches an object it can interact with. This can be done within the “Reticle Growth Speed” option. It is quite self explanatory and you’ll see the difference by trial and error. Personally, I’ve found the default value of 8 to be fine as is. If you go too slowly, the experience gets a bit confusing. You want the user to tell instantly what they can interact with.
Changing Reticle Color
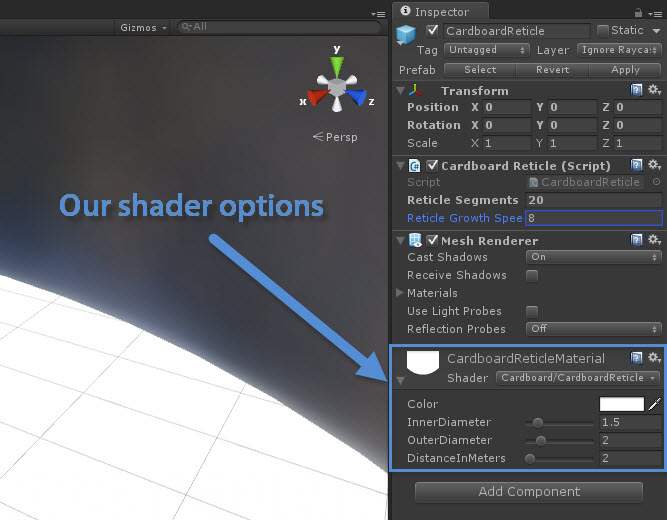
To change the CardboardReticle color, we can adjust the material which the reticle has. The CardboardReticle has a shader whose options you can expand out like so:
As you can see, we can change the color of the reticle from white to anything we’d like:
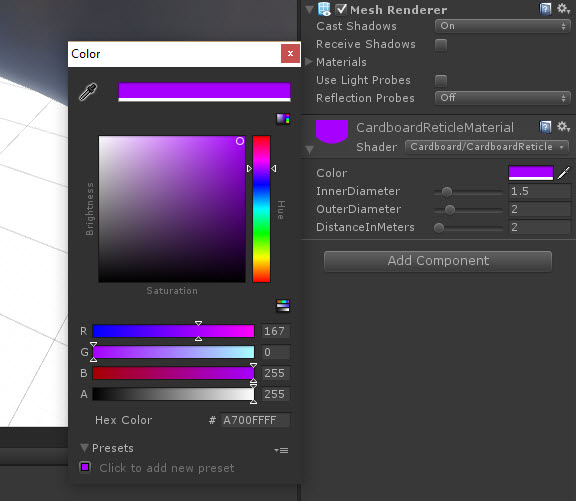
The inner diameter, outer diameter and distance in meters do not seem to make any noticeable difference. They seem to be reset to other values when the scene is run. I haven’t seen a need to change these anyway, I assume more features may be added to this in future Cardboard SDK releases.
Conclusion
Creating a custom reticle/graticule/VR crosshair is incredibly simple in the Cardboard SDK once you’ve got an understanding of the new approach behind it. I hope to explore ways of completely customizing the reticle once again with images and other elements soon!
What have you built with the new Cardboard SDK? How have you approached including a reticle? Let me know in the comments below, or get in touch with me on Twitter at @thatpatrickguy. I’ve also got a whole range of resource links for learning VR and Unity over at Dev Diner’s VR with Unity page.