How to Handoff Designs with Sketch and InVision

Design handoff is about transitioning a web or app design from the hands of the designer to the hands of the developer who will then code it. That hasn’t always been easy. Developers don’t typically use design software like Photoshop or Sketch, but they need to know everything about the design nonetheless.
What colors are being used, specifically? Which fonts? How much space is there between this element and that element?
Developers need to know. Enter Inspect, by InVision.
Why InVision is Now a Designers Dream
InVision App started out as a browser-based prototyping tool with a repertoire of highly-useful collaboration tools. It was a game-changer for designers. Last year the InVision team released Craft, an add-on to Photoshop and Sketch, which at first enabled designers to:
- Quickly add real data to their designs
- Duplicate objects horizontally and vertically
- Create shared libraries of assets and styles
And, some time later, they added the ability to:
- Prototype user flows directly in Sketch
- Sync your exportable assets into InVision
And now, you can sync your designs into InVision and developers can inspect them (and generate real code from them). Prototyping, collaboration, design handoff — the circle is now complete, all under one subscription. A designers dream, right?
If you’re not that familiar with Craft, here’s a rundown of what each Craft feature actually does. If you’re already familiar, read on as we explore an extended workflow where we handoff designs to developers using Sketch, Craft and InVision Inspect.
Installing Craft
Before we begin, download Craft for Sketch (Photoshop users should be able to follow along as well, but this tutorial will use Sketch in the screenshots) and also download the Android N GUI Kit .sketch file by DeveloperTown.

After you’ve installed Craft for Sketch, you’ll be able to toggle the Craft toolbar using command + P.
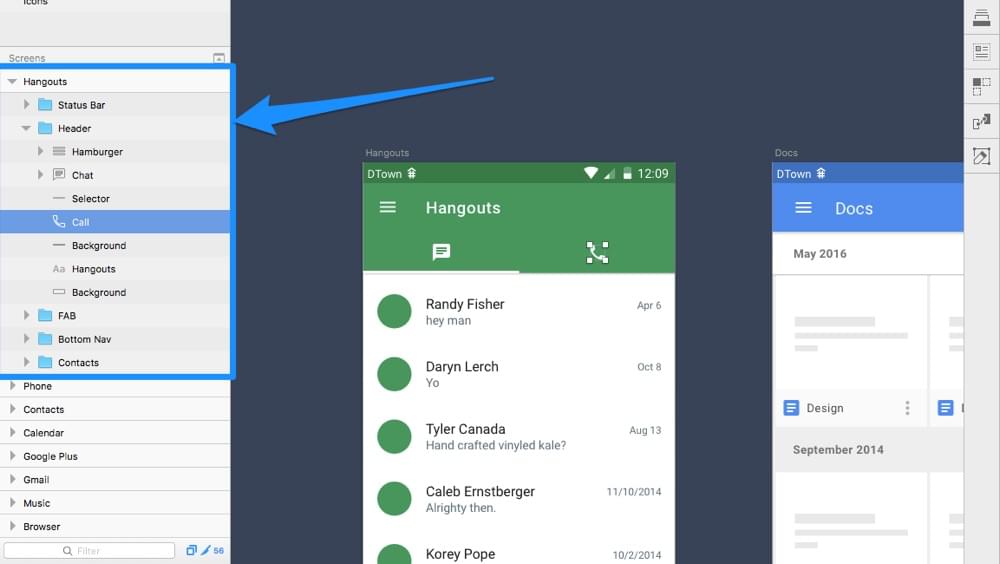
Organising Your Layers
But before we begin hastily handing our design off, we first have to organize it. Remember: developers may not have the design tools from Sketch at-hand, but they still see the design how you see the design — that means we have to rename ambiguously named layers like “Rectangle 41” to something like “Button Background”, and delete redundant/unused layers.
Here are the Sketch keyboard shortcuts you need to know:
- Rename: command + R
- Group: command + G
- Un*group: *command + shift + G
- Move Layer ↑: command + option + ↑
- Move Layer ↓: command + option + ↑
Moving layers up and down means we can have them in the order that they appear in the design (or whatever format feels more logical to your developer), and grouping related layers together can make the layer list look a lot cleaner and more organized.
Marking Your Exportables
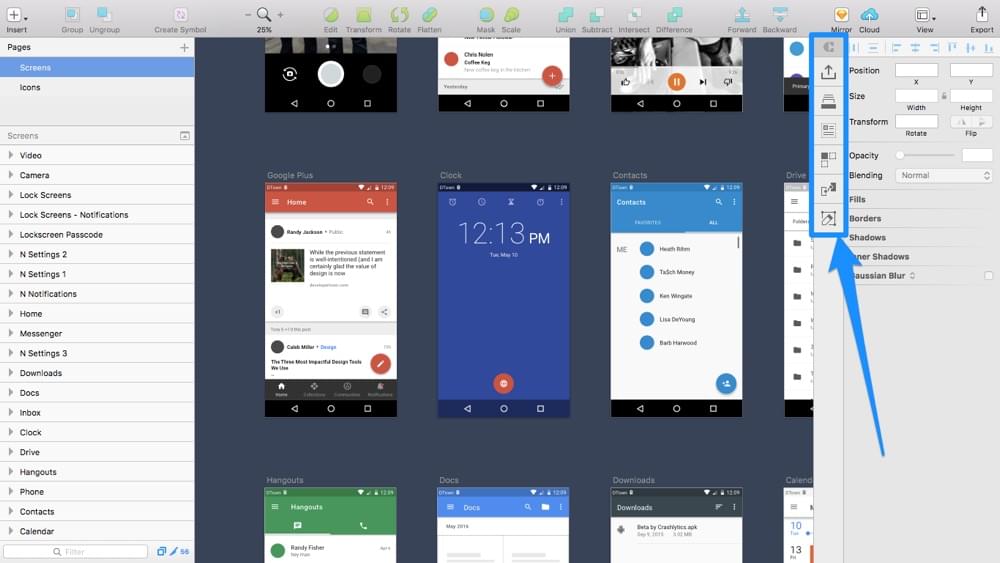
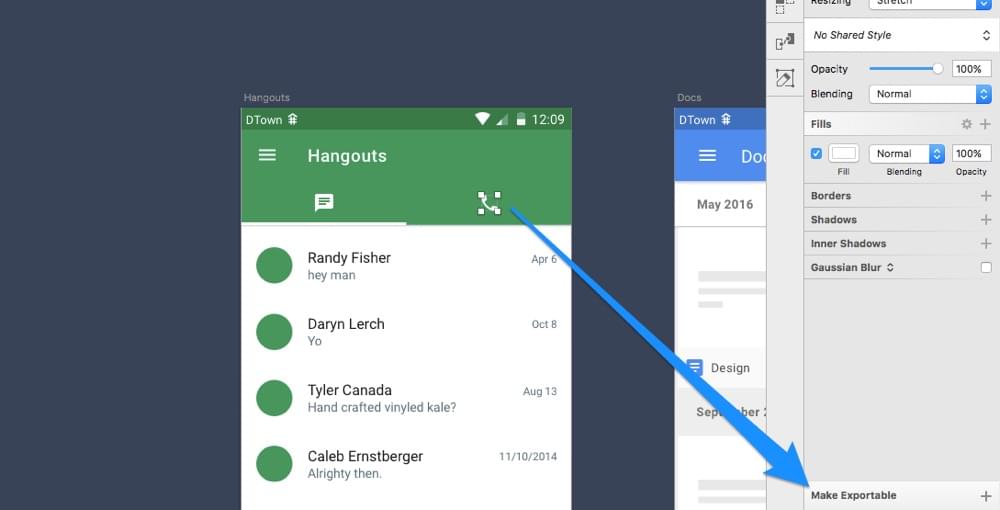
Next, we need to mark our image assets as exportable. Even if we aren’t actually exporting them manually, we need to tell Craft which ones we’d like sync into InVision (this is where developers find the image assets, fonts, and even source files).
As normal, select the objects that you’d like to export as image assets and click “Make Exportable” from the inspector, specifying the file format and resolution while you’re there.
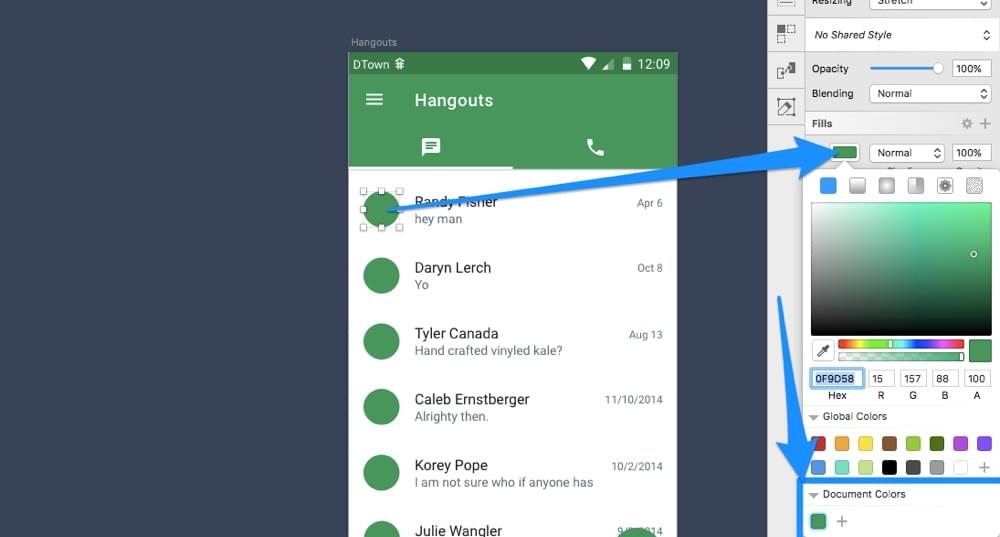
Documenting Common Colours
Any Document Colours saved in Sketch will migrate to Inspect along with your design — select a layer with the color that you’d like to document, open the color picker from the inspector, and click the tiny + icon to save the color.
Exporting to InVision with Craft Sync
Now we need to sync our organised, colour-documented design into InVision where developers can then inspect and implement it, but first we need to create a new prototype in InVision first.
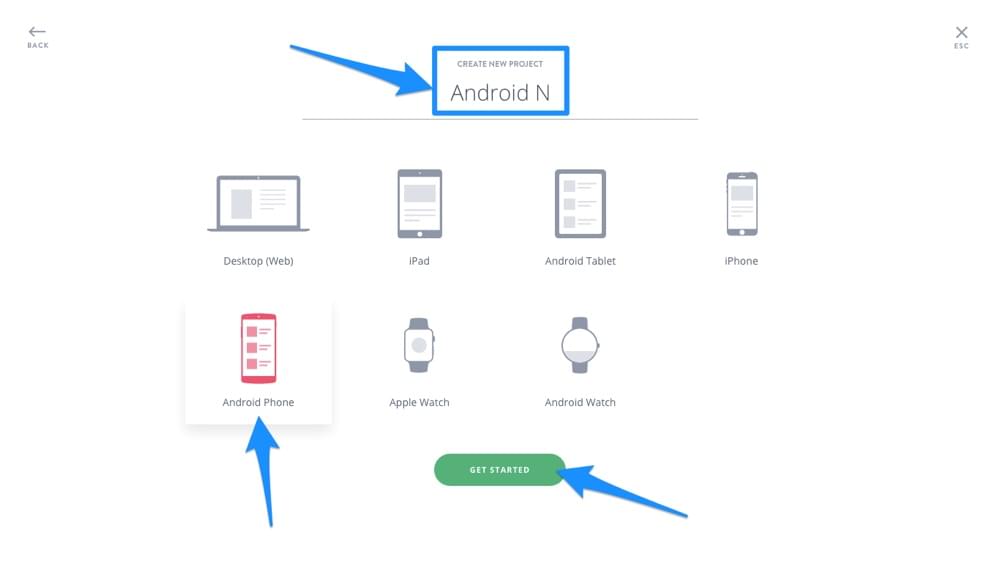
Starting a New InVision Project
- Head over to invisionapp.com
- Click on the round, pink + icon (as displayed below)
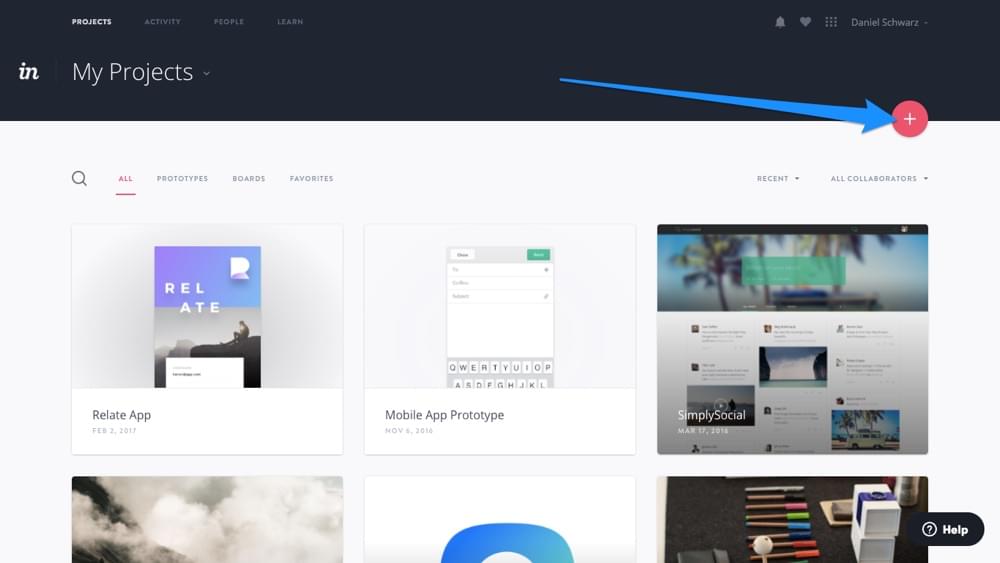
- Click “Create New Prototype”
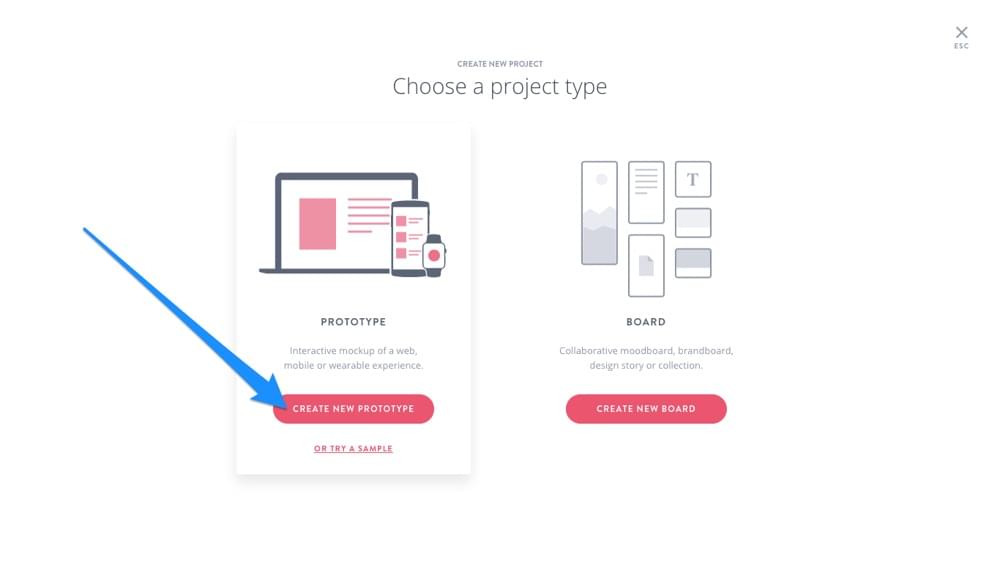
- Give the project a name
- Choose “Android Phone” from the list of options
- Click “Get Started”
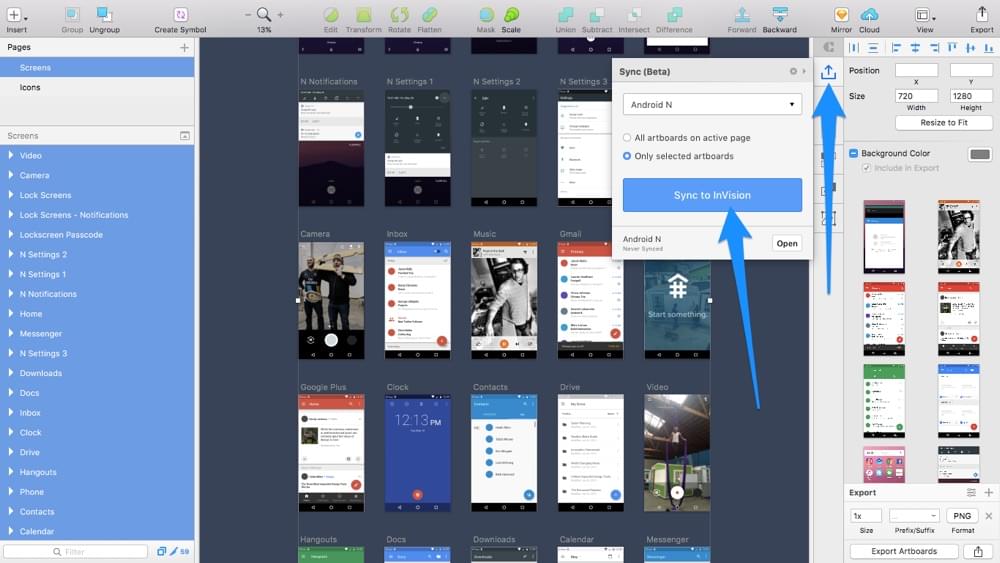
Exporting the Screens to Your InVision Project
Back in the Sketch, click on the Sync tab in the Craft toolbar. Here we need to specify a couple of options and then we’re okay to sync for the very first time. Choose “Only selected artboards” after selecting all of the screen artboards (i.e. not the promo background artboard titled “Android”).
Finally, choose your prototype from the select box.
Hit “Sync to InVision”. Should you need to make any more changes, there are two keyboard shortcuts that will help you:
- Only selected artboards: control + shift + S
- All artboards on active page: control + shift + A
Inspecting the Design
Now lets head back to the InVision app, where our design will be freely accessible to the developers who will be inspecting it.
- From the “Screens” tab, select one of the screens
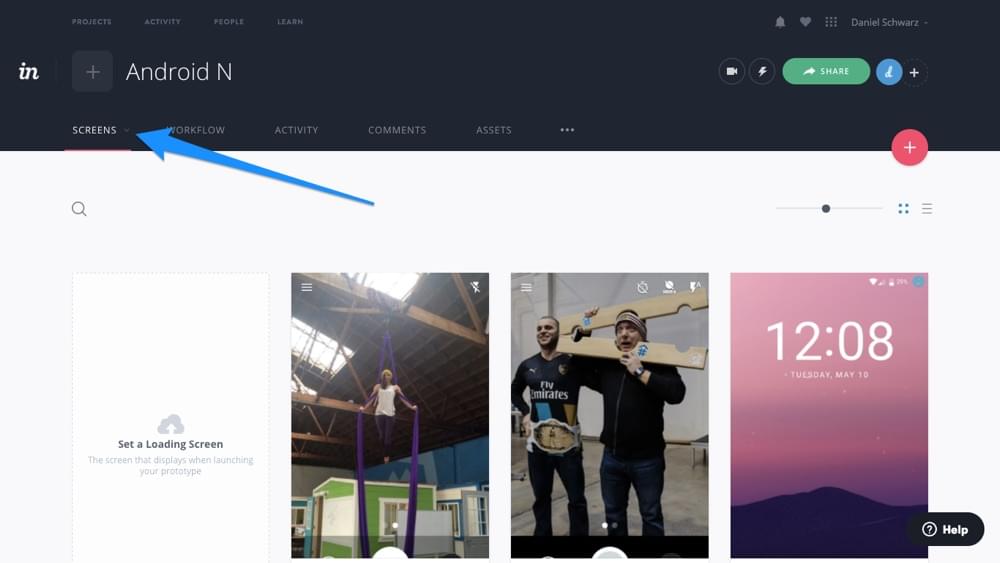
- Switch to “Inspect Mode”.
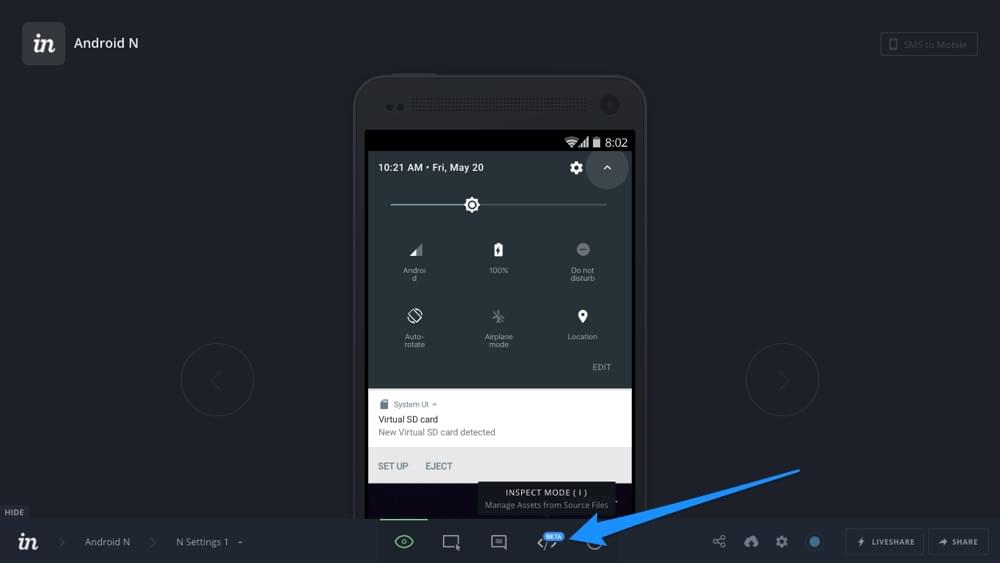
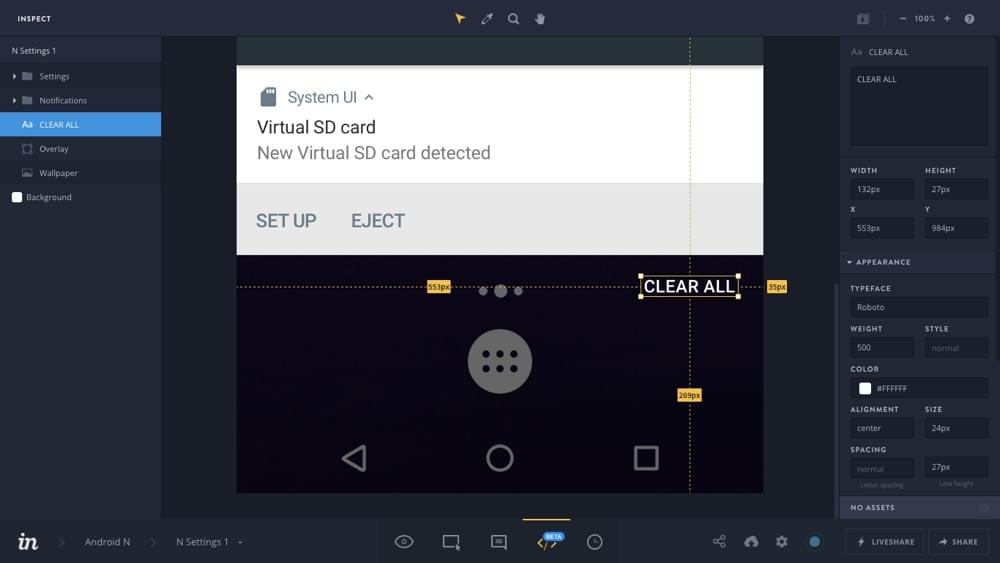
Familiarising Ourselves with Inspect Mode
Perhaps the first thing you’ll think is: “Hey, this is just like Sketch!”. Well, it kind of is; layer list on the left, inspector on the right, if you click on a layer, smart guides will appear — the only difference is that the interface is slightly optimized for inspecting designs. Let's investigate.
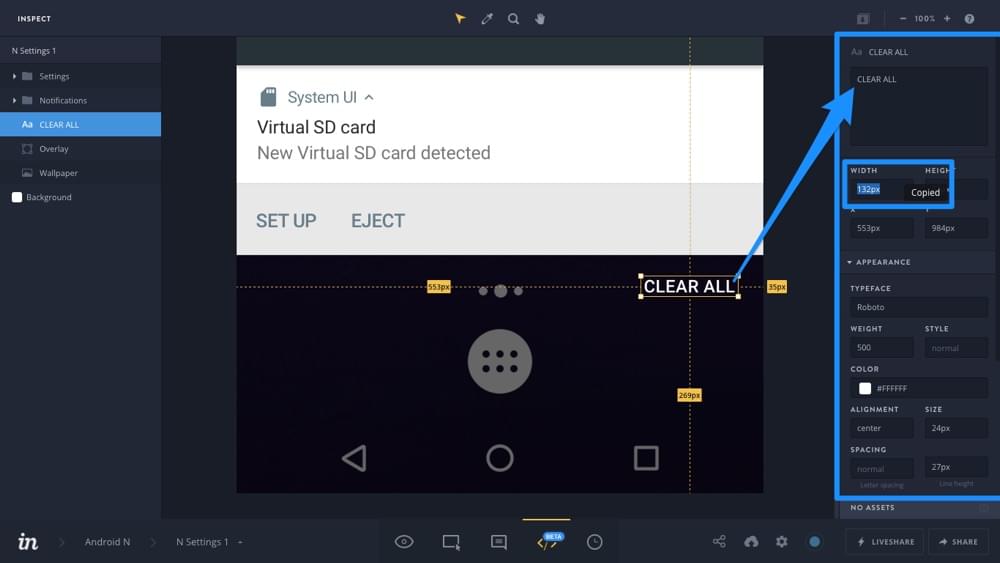
Extracting Styles and Content
When you click on a style from the inspector it will automatically be copied to the clipboard, and developers will then use that style in their code. Developers can also extract the content from text layers, again, with a single click!
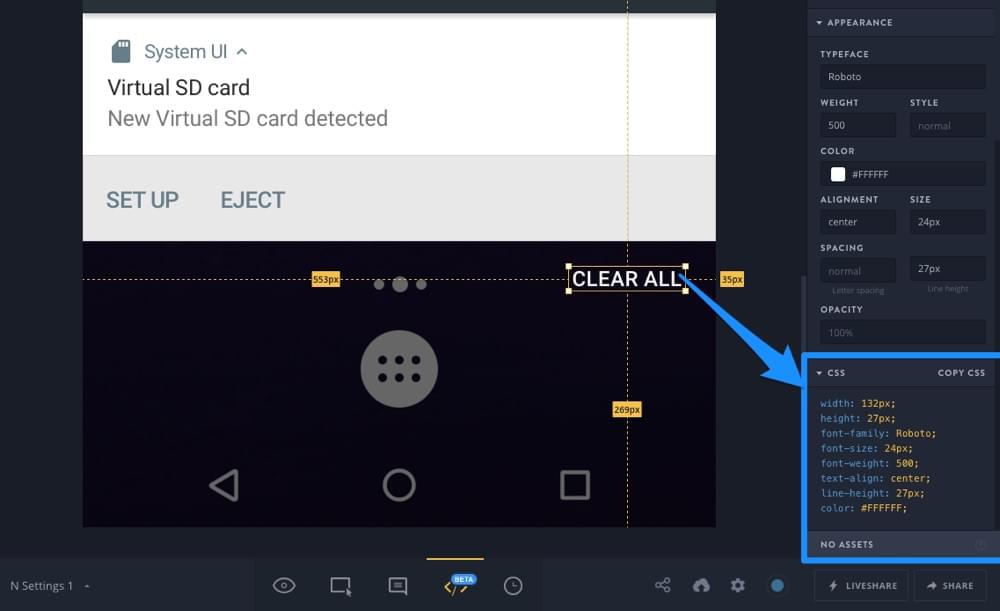
Tip: Developers can also extract styles as CSS code.
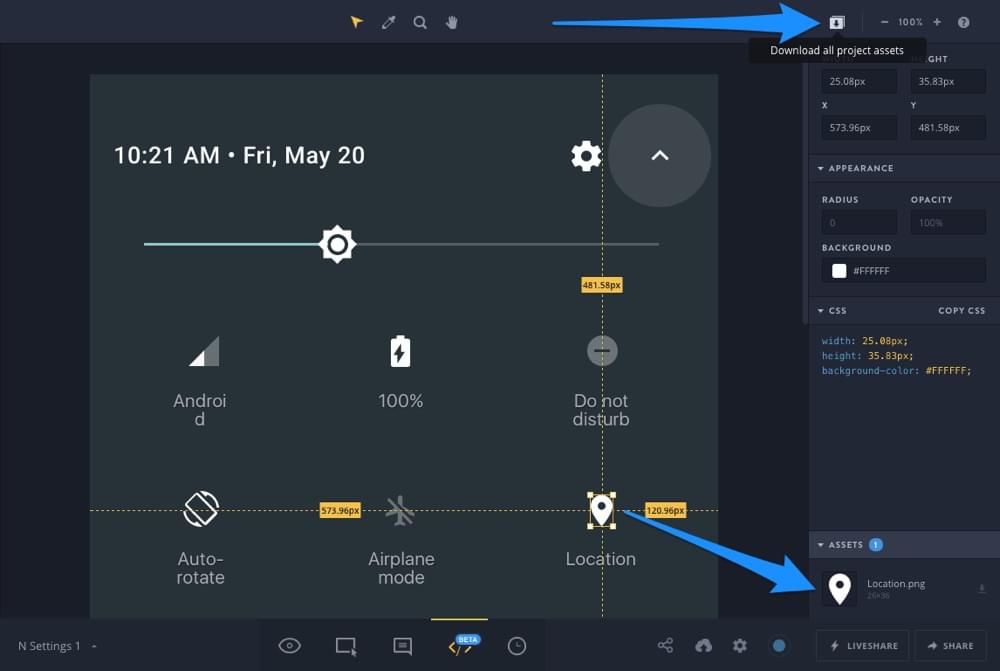
Downloading Image Assets
Remember those image assets that we marked as exportable in Sketch? Developers can download those by clicking on the image in the design, and then clicking on the download icon in the inspector. Alternatively, all assets can be downloaded from the Download all project assets icon in the top-right corner (this will be a compressed .zip of all assets from the current screen, as well as all of the other screens in the prototype).
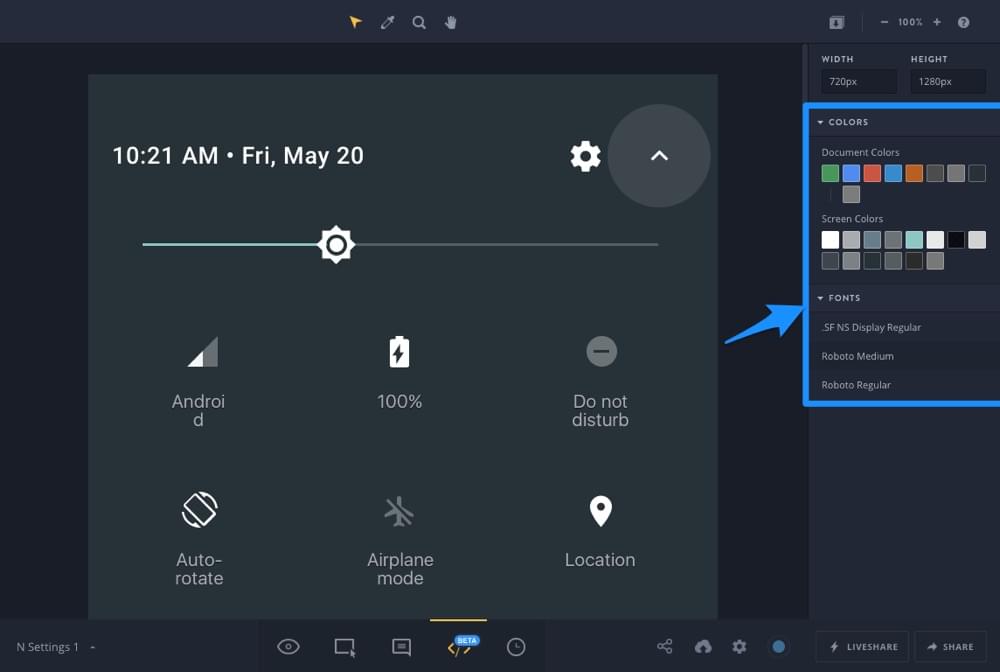
Getting an Overview of Colors and Fonts
If you unfocus from a layer (click anywhere on the canvas outside of the screen’s area), the inspector will display an overview of all the colors used in this screen, as well as fonts used and those document colors we specified earlier.
Like always, developers only need to click and copy.
Conclusion
InVision is a game-changer, especially for large teams where design can quickly become a mess without any means of collaboration and accountability. Inspect helps bridge the gap between designers and developers by aiding a smoother workflow.
Interested to learn more about prototyping with Sketch, InVision, and Craft? I recently collaborated with InVision to create a free ebook filled with tips and tutorials that teach you how to use the entire Craft suite.