Website Personalization: Shouldn’t Sites be Smarter?
- APIsContent managementContent MarketingContent strategyDesignHTML & CSSMarketingMobile UXTechnologyUX

Photo: Malingering
As we all know, the web industry is moving fast.
We started with static websites that always look the same and are designed for people sitting in front of a desktop computer. Then we moved to mobile sites, which quickly evolved into responsive sites that provide a great experience regardless of whether a user is sitting in front of their desktop, using their smartphone in a supermarket line or browsing an iPad from their couch.
I believe the next breed of websites will need to dynamically display personalized content for each user based on more than just the device/screen he or she is using.
A user’s experience can also be defined by other factors like time, location, usage of the site and the user profile. This approach can help both consumers and businesses.
- Consumers will get a more relevant web experience.
- Businesses will see a higher conversion rate from visitors to actual customers.
Let’s look at three different personalization scenarios and how we might go about implementing each:
Scenario A – Location based personalization
I am a restaurant owner that has two locations; one in San Francisco and one in Los Angeles. Although I have a single website for both restaurants, each location has different promotions running.
I want to highlight the promotion on the homepage, but also want to ensure that users from Los Angeles will see the Los Angeles promotion and users from San Francisco will see the San Francisco specials.
This is how I want my site to look:
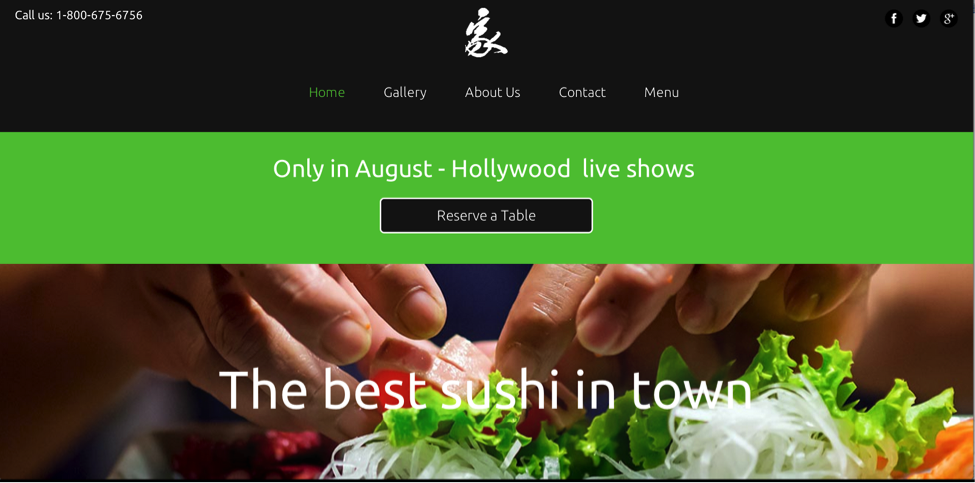
Visitors from Los Angeles:
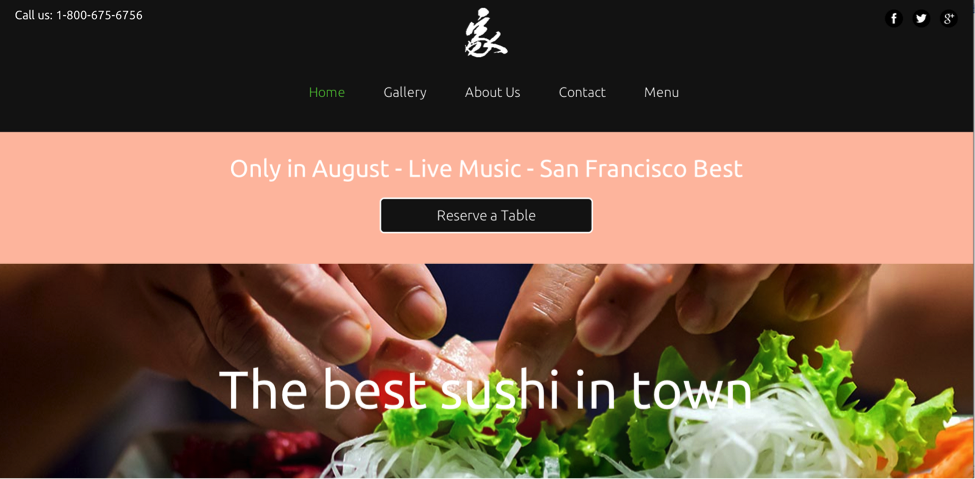
Visitors from San Francisco:
How to implement it:
1. Implement the different promotions sections in your HTML, give them unique IDs and hide them using CSS.
<section id="promotion-la" style="display:none">
    <!-- your LA promotion html goes here -->
</section>
<section id="promotion-sf" style="display:none">
    <!-- your SF promotion html goes here -->
</section>
2. Add JavaScript code that will determine the visitor location based on their IP address and display the relevant section accordingly. In this example, we will use MaxMind JavaScript API (http://dev.maxmind.com/geoip/geoip2/javascript/) to get the location data. You can also use MaxMind from your server-side code.
In this example, I’ll assume that you’re using jQuery.
<script src="//js.maxmind.com/js/apis/geoip2/v2.1/geoip2.js" type="text/javascript"></script><script>
$(document).ready(function(){
var onSuccess = function(location){
if(location.city && location.city.names && location.city.names.en)
{
if(location.city.names.en == "San Francisco")
{
$("#promotion-sf").show();
}
else if(location.city.names.en == "Los Angeles")
{
$("#promotion-la").show();
}
}
);
};
var onError = function(error){
alert(
"Error:\n\n"
+ JSON.stringify(error, undefined, 4)
);
};
// get the user location
geoip2.city(onSuccess, onError);
});
</script>You can also use the mobile JavaScript location API (http://dev.w3.org/geo/api/spec-source.html) to build scenarios based on the exact location of the user (street address for example) but this approach has two main drawbacks:
- It will work only on location-enabled devices.
- It will show the user a “Do you allow this website to use your current location” alert, which can lead to higher bounce rates.
Scenario B – Time based personalization
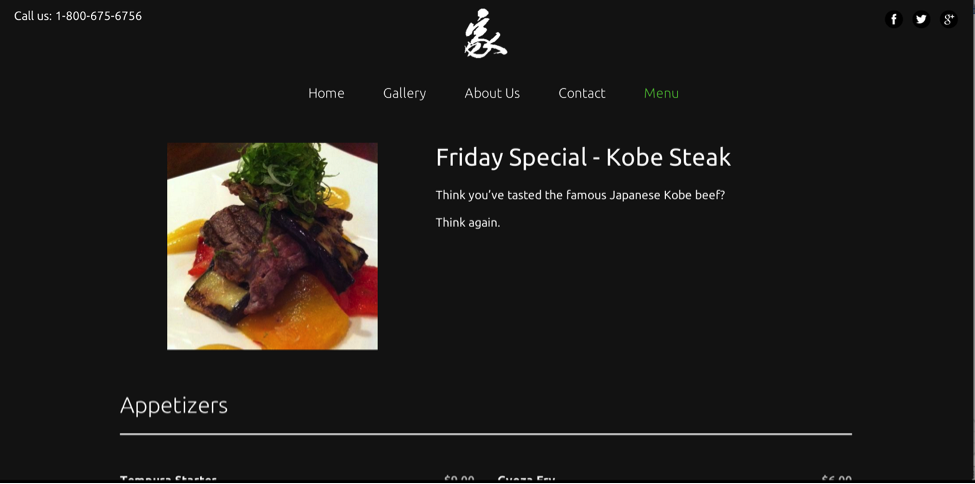
Let’s say we want to show the daily specials on the menu page based on the current day.
This is what I want it to look like:
Menu page on Friday:
Menu page on Saturday:
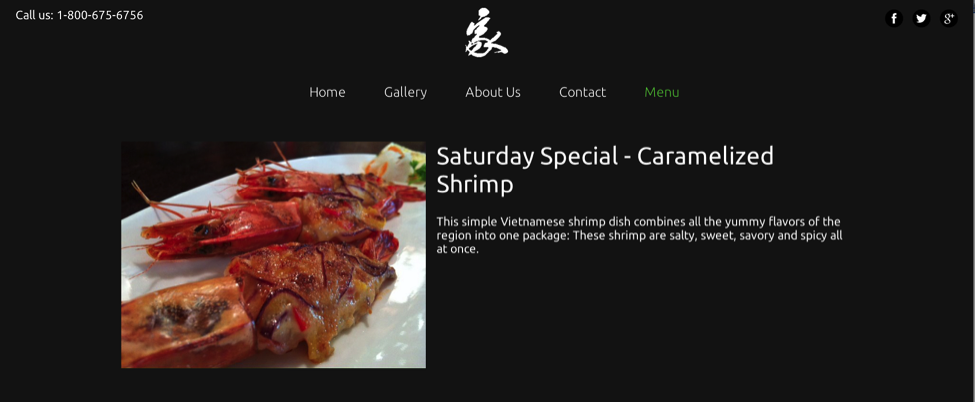
Saturday Special: Shrimp
How to implement it:
- Implement the different daily special sections in your HTML, give them unique IDs and hide them using CSS.
<section  class=”Friday”  style="display:none">
    <!-- your Friday special html goes here -->
</section>
<section  class=”Saturday” style="display:none">
    <!-- your Saturday special html goes here -->
<section>
2. Add JavaScript code that will check the current day and show the relevant special section.
<script>
$(document).ready(function(){

var d = new Date();
var weekday = new Array(7);
weekday[0]=  "Sunday";
weekday[1] = "Monday";
weekday[2] = "Tuesday";
weekday[3] = "Wednesday";
weekday[4] = "Thursday";
weekday[5] = "Friday";
weekday[6] = "Saturday";

var today = weekday[d.getDay()];
$('.'+today).show()});
</script>
You can add any other time-based scenarios. Happy hour messages during certain hours of the day, special effects on New Year’s Day, breakfast menu versus dinner menu, etc.
Scenario C –- Visits based personalization
Let’s add another cool example to the mix.
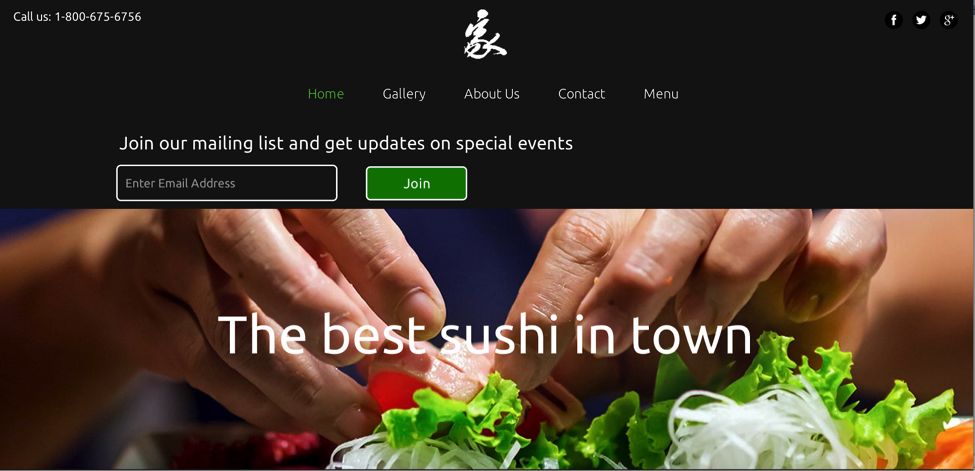
A first-time visitor to our site is usually looking for something different than a returning visitor, who is likely already a fan of our restaurant. So, let’s show returning visitors who have visited our website three or more times an offer to join our mailing list so they can be notified when we’re having special events.
This is how I want my site to look for visitors who have visited three or more times:
How to implement it:
- Implement the ‘join our mailing list’ section in your HTML, give it unique ID and hide it using CSS.
<section id=”join”>
 your mailing list form goes here
</section>- Add JavaScript code that will check the number of visits of the user and show the section if it is three or more. We will use a cookie to store the number of visits of the user.
$(document).ready(function(){

function getTotalVisits()
{
    var  now = new Date(),
    // we will set a cookie to be valid for 1 year
    expireDays = 365,
    // we will define a visit length as 30 minutes
            visitLength = 30 * 60000;

    // get the last pageview time.
    //We are using jQuery cookie plugin to get/set the cookies
    lastView = $.getCookie("last_view");
    if (lastView == null)
        lastView = now.getTime();
    // set the new last page view
    $.setCookie("last_view", now.getTime(), expireDays);

    // get the total visits from the cookie
    var numVisits = $.getCookie("total_visits");
    if(numVisits == null)
    {
        numVisits = 0;
    }
    // increment the total visits by 1
    numVisits = (numVisits* 1) + 1
    // set a new total visit if needed
    if (numVisits == 1 || now.getTime() - lastView > visitLength) { // this is a new visit
        $.setCookie("total_visits", numVisits, expireDays);
    }
    return numVisits;
}

// show the join us section if total number of visits is bigger than 3
if(getTotalVisits() >= 3)
{
    $("#join").show();
}
});
These are just three examples; you can probably think of dozens of other use cases that will make sense for you or your clients’ business. It can get really interesting and exceptionally targeted when you start to combine multiple triggers together.
Imagine doing something for users from NY at specific times, or for first-time visitors that are using a mobile device.
Obviously, you want to make sure that the personalization you are implementing is achieving your goals, so it’s a good idea to add tracking when an action is completed in those scenarios. You can use Google Analytics Events, Mixpanel or any other analytics software.
The biggest challenge with website personalization, in my opinion, is maintenance. How to add those use cases without making the code unreadable. How to remember when a promotion ends and remove the code. How to understand what the website will look like for each user if multiple scenarios are configured. These are things you need to consider before adding a lot of those hooks to your site.