Notion Guide: All-in-One Workspace & Notes App

So you’re ready to dig into Notion, but you don’t know where to start? You’ve heard great things about how customizable and intuitive it is, but staring at a blank page leaves you feeling overwhelmed? Don’t worry, as this beginner’s guide to Notion will get you quickly up to speed and ready to dig deeper. Be prepared, though: once you’re hooked, you’ll find plenty of rabbit holes to dive into!
Get the Mac, Windows and Mobile Apps for Your Devices
If you don’t yet have Notion on your desktop, you’ll want to download it (for Mac or PC). The browser version works just fine, and can be handy if you want to have multiple pages open at once, but putting the app on your desktop helps it earn its rightful place in your digital ecosystem.
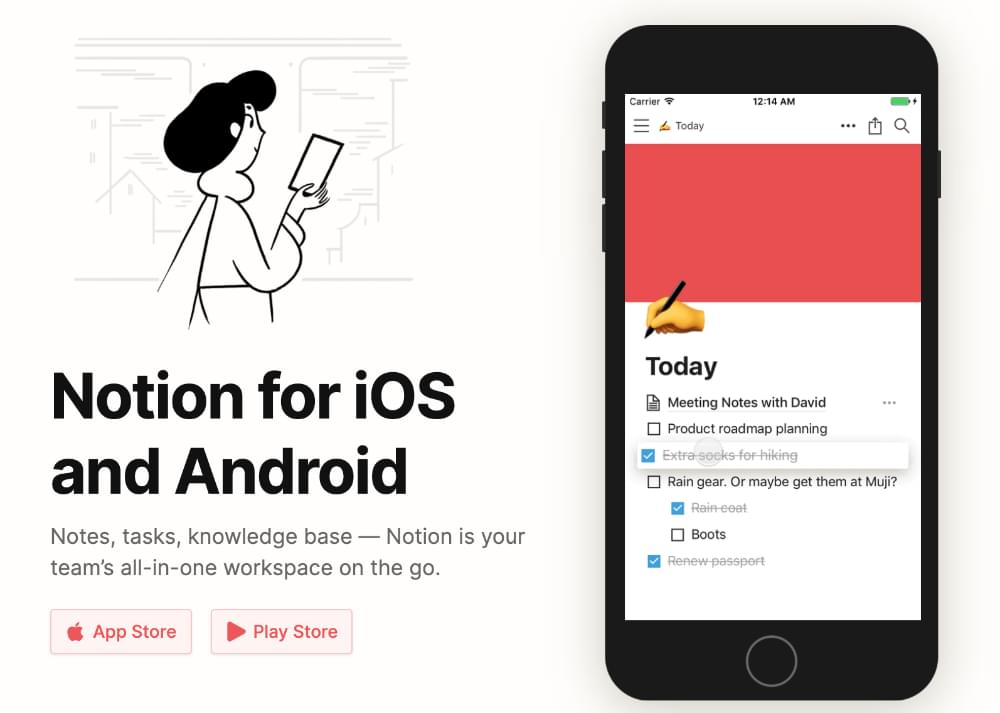
You’ll also want to download the app on your iPhone or Android device. and iPad if you’re using one. The app lends itself more to desktop use, but you’ll want the tool handy on all your devices if you’re going to use it to its full potential. The iOS and Android apps are definitely handy for on the go. The iPad app does give you access to your pages but leaves something to be desired. The Notion team has acknowledged as much, and is promising that mobile improvements are on the roadmap.
After you’ve created an account (a breeze with SSI from Google) you’ll want to download the web clipper in order to pull web pages directly into Notion. Notion’s own Web Clipper is handy, but an even better option is the Save to Notion extension, which allows you to add metadata to the entry right at capture! More on that later.
Learn the Notion Lingo
To get started with building, you’ll want to understand the basic elements you have at your disposal.
The basics: Blocks
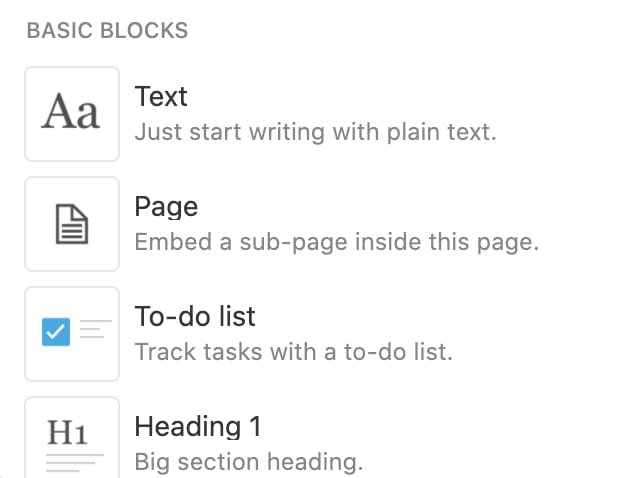
The atomic unit of Notion is the block. Just like legos, you piece blocks together to create whatever you can imagine.
Each block type can be moved, duplicated and formatted. Even more exciting is that every individual block has a unique link, making it easy to cross reference blocks across your system.
Basic blocks include the standard elements of word processors such as text, headers, bulleted and numbered lists. There are also “to-do lists” (checkboxes), quotes and call-outs to draw attention to important text, dividers, nested pages and links to existing pages.
We’ll stick to basic block types in this article (this is a 101 guide, after all) but other block categories include inline mentions, media and embeds, databases and advanced blocks like breadcrumbs.
Put it together with Pages
Think of pages as Google Docs — except you can build them out of all sorts of blocks, customizing the layout, formatting and contents with ease.
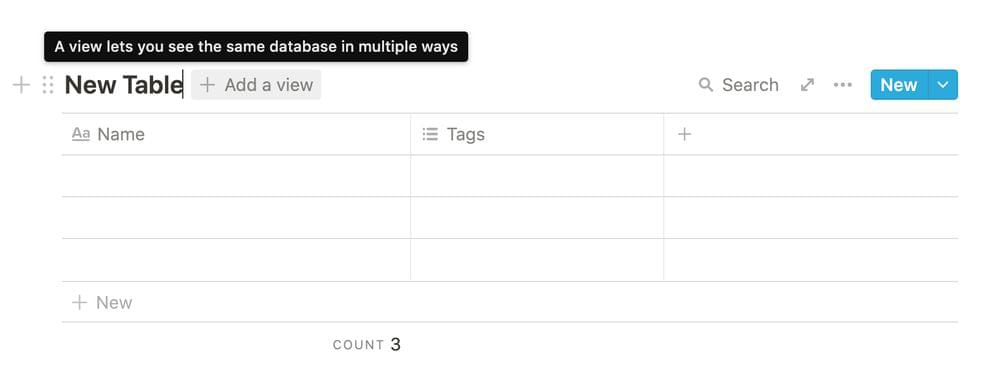
Organize it with Tables
Tables are your replacement for Excel or Google Sheets — unless you’re using pivot tables or performing complicated data analysis. Add meta data with the usual properties including text, numbers, and formulas. Step it up with other useful properties such as checkboxes, multi and single select, and “person” (for other users in your workspace).

How to Get Around in the App
Okay, so you have the app and you understand the Lego pieces you have at hand to build. Now, how do you get around and stay informed? Here’s everything you need to know to get started with the Notion UI.
Search
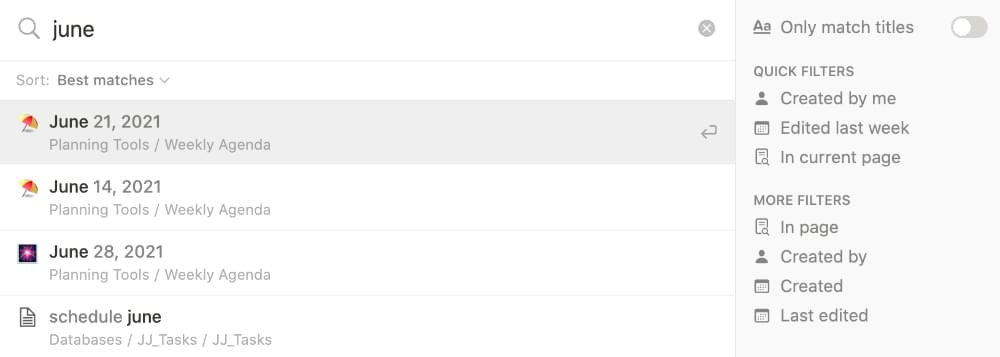
You’ll want to organize your Notion pages so you know where to find things, but when you need to grab something quickly, use the Quick Find link in the sidebar. Even faster is the keyboard shortcut Control/CMD + P
Updates
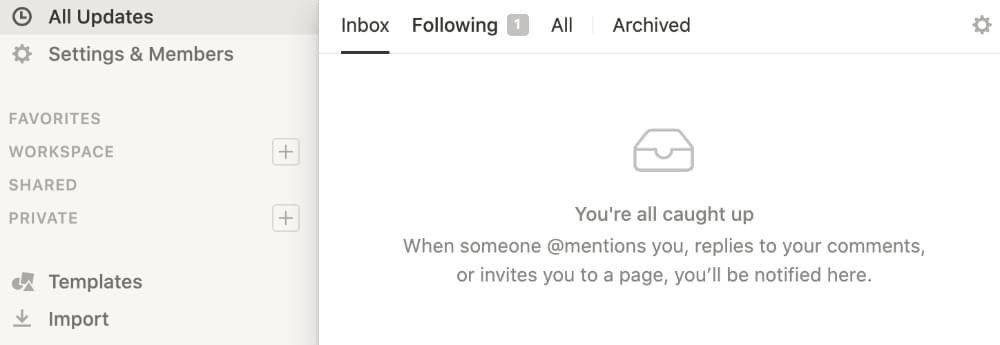
You can see your page updates in the sidebar. There’s Inbox for new mentions and comments, Following for changes made to pages you chose to follow, All for every change in your Notion account and Archive. Click on the gear in the upper right corner to change your notification settings.
Settings and Members
This is where you can modify your plan, billing information, notifications and more. If you have a Team Plan, this is where you can administer your team — adding or removing members, changing permissions, and so on.
Sidebar Sections
Your Sidebar is the map of your Notion universe.
Let’s take it from the top.
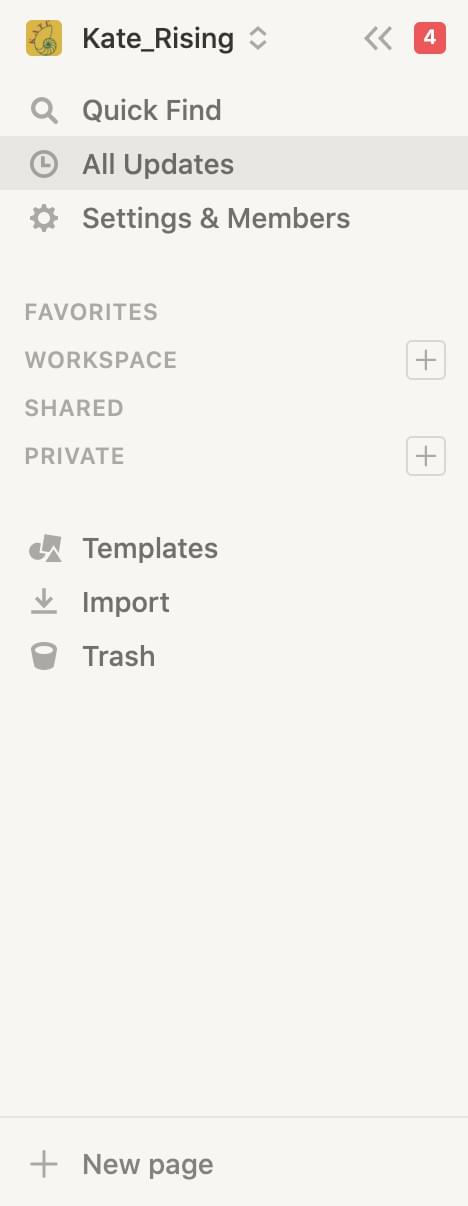
Favorites
Your favorites are manually selected. On any page, you’ll see Favorite in the top right corner. Click and the page is added to this section of your sidebar. You can click again to remove. From the Favorites section you can also click the three dots to reveal the option to Remove From Favorites.
Workspace
The Workspace section only appears if you have a Team Plan. Pages shown here are accessible by everyone on your team, though you can modify the permissions depending on what you want folks to be able to do with each page. See “Sharing” below for more.
Shared
Pages move to this section once they’ve been shared with individuals, groups or integrations.
Private
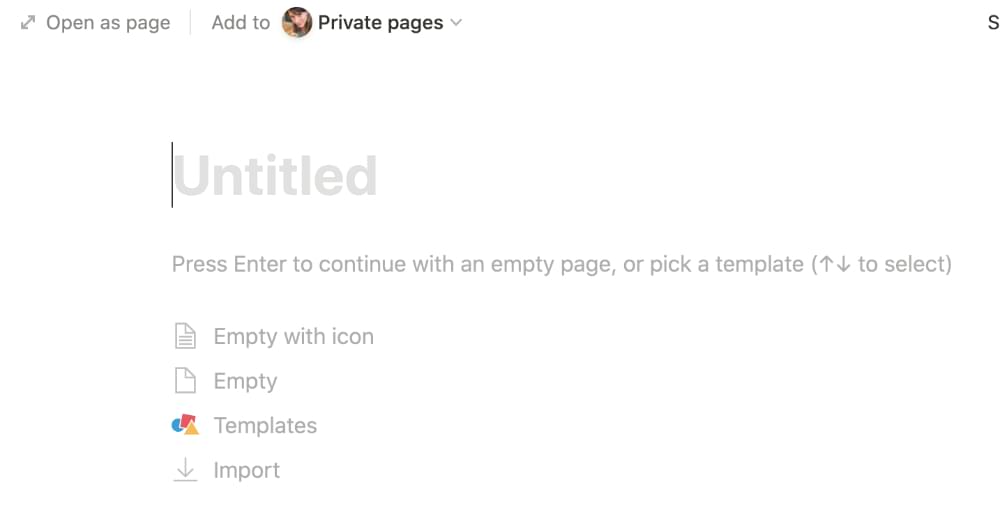
As the name implies, these pages are private to you. When you click + New Page, your page will be created here and will be private until you manually share it with others.
Having Fun with Features
Now here’s where things get fun!
Mix and Match
As mentioned above, the atomic unit of Notion is the “block”. Yes, there are standard text and bulleted lists, but you can also organize things within toggles, create a quick to-do list with check boxes or even embed video, images and web bookmarks.
The real beauty of blocks is the ability to combine them however you choose! This means you can create dashboards and personal wikis with ease. Since Notion was built for building, embeds are easy to create and move (none of the lag you’ll find in a Google or Word doc). It’s also super easy to drag and drop any block, change a block from one type to another, or duplicate it.
Don’t stop there. Create columns to organize blocks (drag until you see the blue line move next to the existing block). Use colors, emojis and images to customize your page. Use quotes and callouts to draw attention to specific text (great for sharing instructions on how to navigate a page!). Once you get the hang of things, you can create dashboards for planning your work and life!
A document inside a spreadsheet?
Imagine if you could place a Google Doc inside of the cells of a Google Sheet. Well, with Notion, you can! Each record within a Notion table is actually a Page. Remember when we talked about the taxonomy? Each page is its own document and can contain any combination of blocks you desire.
This is incredibly powerful for two reasons:
- Every Page you create within a Table can have its own metadata. Assign dates, tags, people, and more.
- You’ll create depth for your tables by digging deeper in the record’s page. Create a mini dashboard for each project, add notes to each book on your reading list, or capture recipes for menu planning.

Slice and dice with Table views
So now that your pages are organized in tables and have useful metadata, you can decide exactly how you want to view your information!
Tables start by default as a simple two-column table. Once you’ve created your table and properties, you can click + Add a view next to the table name and create any of the following views:
- Table: a basic spreadsheet.
- Board: Kanban style. Each page is a “card” in a row, sorted by a property you choose (such as the status of a task).
- Timeline: a Gantt chart, super useful for project planning and schedules.
- Calendar: a month view, useful for planning events, content calendars and tasks.
- List: a pared-down table, visually appealing and easy to navigate.
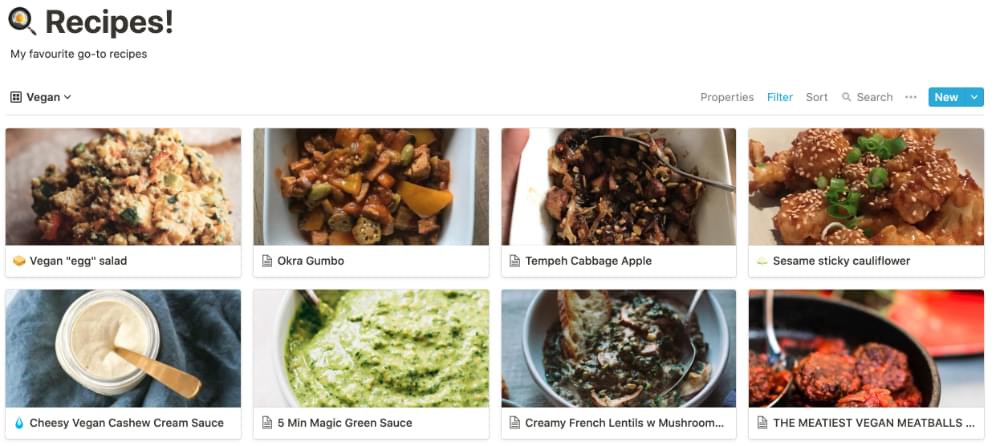
- Gallery: the “prettiest” of all the options. Each page becomes a card in a grid. Great for recipes, book lists, travel recommendations and more.
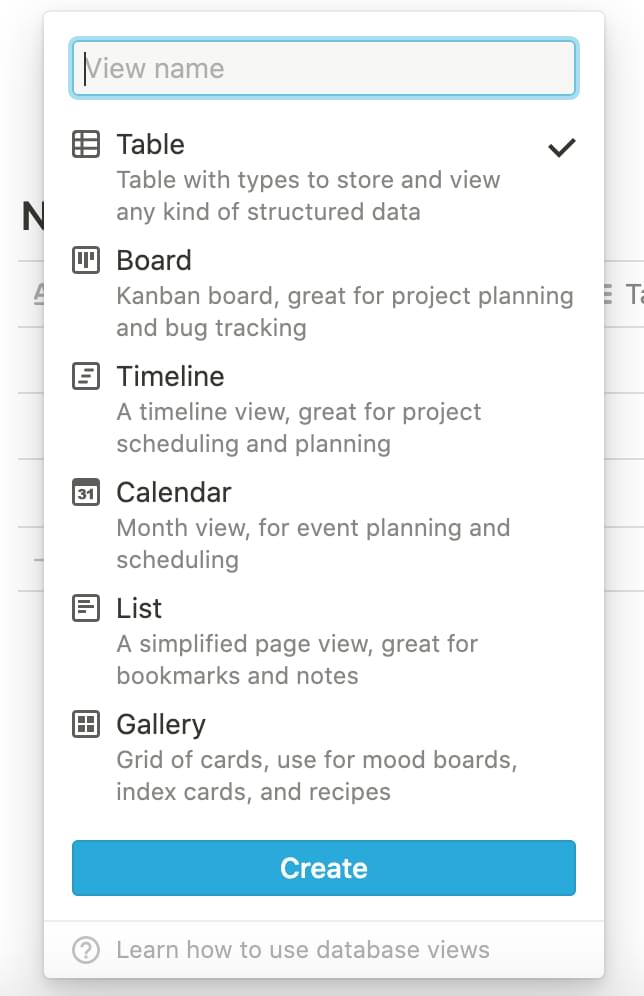
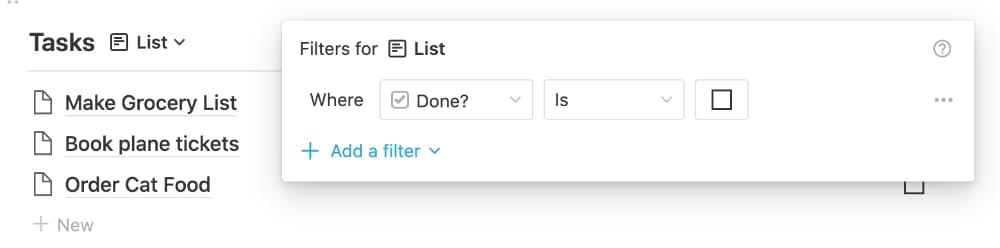
Any view can then be filtered and sorted! Filter by any property or create filter groups. Use one or multiple sorts to bring the information you need to the surface. Perfected a view? Duplicate it and slightly tweak the filters to give you the exact context you need. Learn more about how filtered views can help you manage tasks and project.
Grab it with the Web Clipper
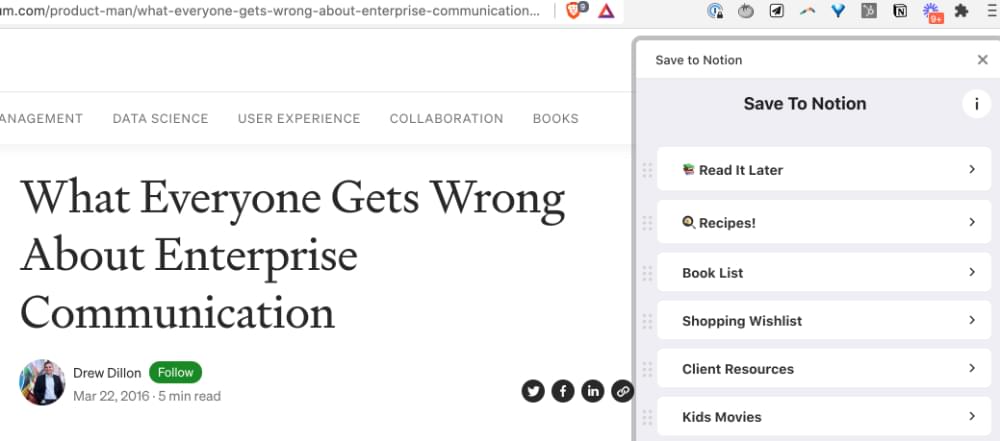
Pulling web pages into Notion is a great way to compile recipes, amass a read-it-later list, or gather images to a mood board. You’ve got a few options when it comes to “clipper” browser extensions. With any clipper, you’ll want to install and pin the extension and sign in to your Notion account. The actual clipping experience varies.
With Notion’s own clipper, you’ll simply edit the name of the page and select the workspace and destination database. The clipper will grab the URL and, in most cases, the content of the page. Occasionally, the page content won’t appear fully within Notion.

With the Save to Notion extension, you create Forms for clipping to different databases. Select your workspace and destination database and then customize which fields you want to fill out when you clip.
When you’re ready to clip a page, you’ll choose one of your forms and fill out as many of the fields as you like. The page gets clipped to the database with this metadata already filled out! This way, you don’t need a separate step to process your clippings.
Sharing and Permissions
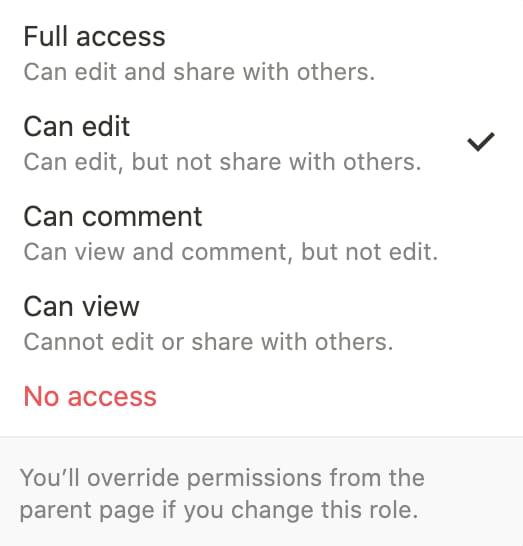
Share any page by clicking Share in the upper right-hand corner. You can instantly publish to the Web (with the option of allowing search engine indexing or not). For more specific sharing, add folks using their email address (or just their name if you’ve already shared with them). The permission options are fairly straightforward:
- Full Access: able to edit and share
- Can Edit: able to edit but not share
- Can Comment: able to comment on the page level and comment on any block
- Can View: only able to view
- No Access: used to revoke access previously granted
There are two important nuances for sharing:
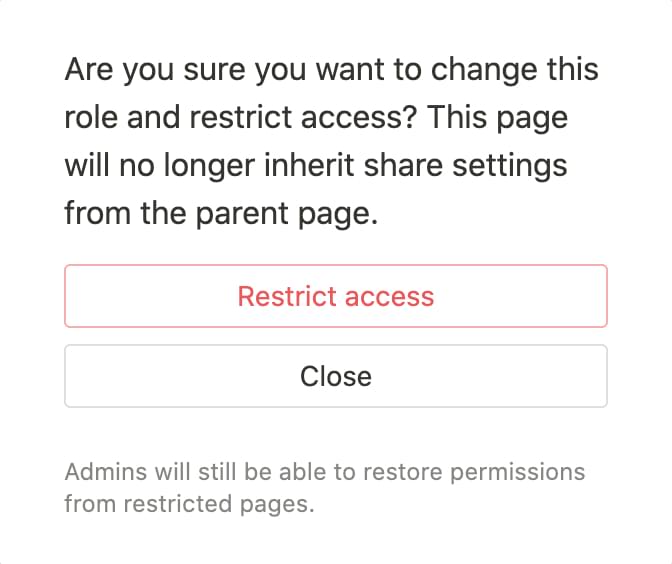
- Nested pages, or pages inside a database, automatically inherit permissions of the parent page. However, you can manually go into a page and reset the sharing permissions for that specific page. You’ll get an alert asking you to confirm that you’d like to override the inherited permissions.
- If a page you share includes a “Linked Database” (an advanced block, discussed in depth in “High-output Project Management in Notion”), the original database must also be shared with the collaborator. Otherwise, the linked database block will not appear on their view of the page. They’ll have a blank space where that block should be.
Use Cases for the Beginner
Once you get the hang of the features we just explored, you can create dashboards for planning your work.
There are a few simple ways that you can begin using Notion and gain a lot of value right away:
- Personal CRM: a person CRM is a good starter option, although Notion won’t replace a purpose-driven CRM for sales and email marketing. Instead, think birthdays, hobbies, and meaningful conversations you’ve had with your most important contacts.
- Notes: a searchable and indexed repository for your brainstorms, shopping lists, and reading notes.
- “Library” of web content: replace Instapaper or Pocket with a database in Notion. Why? Customizable metadata and the ability to highlight and annotate the full text right within Notion. Organize your reading so you can stay current with developments in the world of web development.
- Task management: capture all your to-dos and create custom views to show you what you need to know when you need to know it.
- More personal uses: get healthy and organized with a recipe database, meal planning, habit tracking, and workout logs. Plan trips by organizing all your info and notes on a specific destination. Create a master “watch list” of movies and shows across all of your streaming services or a digital bookshelf to queue up your next read.
Once you get comfortable with Notion, you can leverage the tool for more complex uses. Take what you’ve learned here and dig into Project Management, course creation, or quick and easy public web pages (great for temporary pages like sales and landing pages).
Make the Most of Notion with Best Practices
The blessing and the curse of Notion is that you can make whatever you want! Sometimes, this means you’ll end up with pages breeding like rabbits and pages nested inside pages inside pages. All this leads to the dilemma of: Where is that thing?
You can avoid this pitfall with a few handy tips:
- Keeping your sidebar streamlined: favorite only the five to seven pages that you use most. Create a few master pages in your workspace that house other pages by category. Example: all your Dashboards live on a Dashboard page and you favorite your Daily Action Dashboard.
- Format: utilize headers and a table of contents when you make a large page. It makes it much easier to jump to the section you need.
- Clean up: plan time to periodically look through your setup and retire pages you don’t need, revise your Favorites, and dial in anything half finished.
- To table or not to table: if you’re making three or more of the same type of page,, you’ll want to place those pages in a table as opposed to just nesting them.
That’s it. You’re on your way! You’ve got everything you need to get a solid start. Here’s a secret, though: the highest leverage move when getting started with Notion is to map out your Notion setup before building too much. Figure out what you want to create and why, then focus on learning the how. After that, you’ll want really dig in to the wonders of Notion Databases. You can also explore more with the resources below. Happy Notion-ing!
Go Deeper with Additional Resources
- Notion’s FAQs
- “Getting Started with the Notion API and Its JavaScript SDK”
- “High-output Project Management in Notion”
- GTD in Notion: How to get more things done in Notion
- Getting a leg up with Templates
- Dig in with the course I co-teach: Supercharge Your Productivity