Push Notifications in Your Ionic App with OneSignal

This article was updated on May 3, 2017, for Angular 4 and Ionic 3.
Introduction to push notifications, what they are, how they work
Push notifications are messages sent from your server to your app’s users. They notify users of new content, even when the user is not using your application. They increase user engagement and retention in your app. An example is the WhatsApp “whistle” that notifies you of new messages received. In this tutorial, we’ll dive into integrating push notifications using OneSignal.
How push notifications work
A push notification is sent from the app server to one of the Push notification platforms for the mobile OS. Apple’s Push Notification Service for iOS and Google Cloud Messaging for Android. These push notification services relay the message to the appropriate devices.
You may be wondering, how does your server & GCM know which device to send the notification to? Your app will include code that registers its unique device token with your server.
Keeping track of these device tokens on your server is tedious. But there are some great services out there to simplify the process. One such service is OneSignal.
Step 1: Install Ionic
To start off with, you need to have Ionic installed on your machine. You install it using the node package manager npm;
If you do not have **npm** installed, follow the instructions in the references section to install it.

## Step 2: Start a new project

Next, start a new ionic project by running either one of the following commands based on your target version of Ionic;

**Ionic 1**
$ ionic start PushDemo sidemenu“`
Ionic 2/3
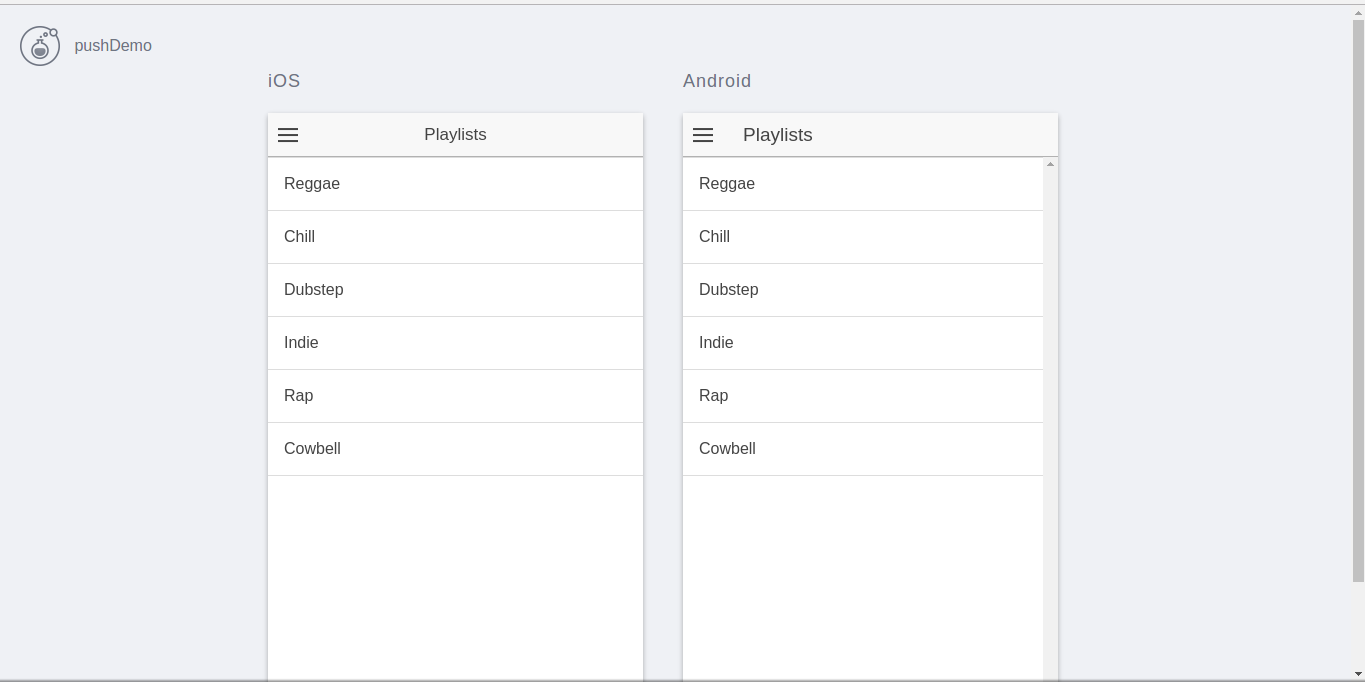
The above command creates a new project in the current directory. The project folder will be called *‘PushDemo’* and it will use the *sidemenu* template.
$ cd PushDemo && ionic serve –lab“`
The code above navigates into your project folder and opens up your app for testing in a browser window.
Step 3: Register on Google Cloud Messaging (GCM)
Visit the Firebase Console and log into your Google account:
https://firebase.google.com/
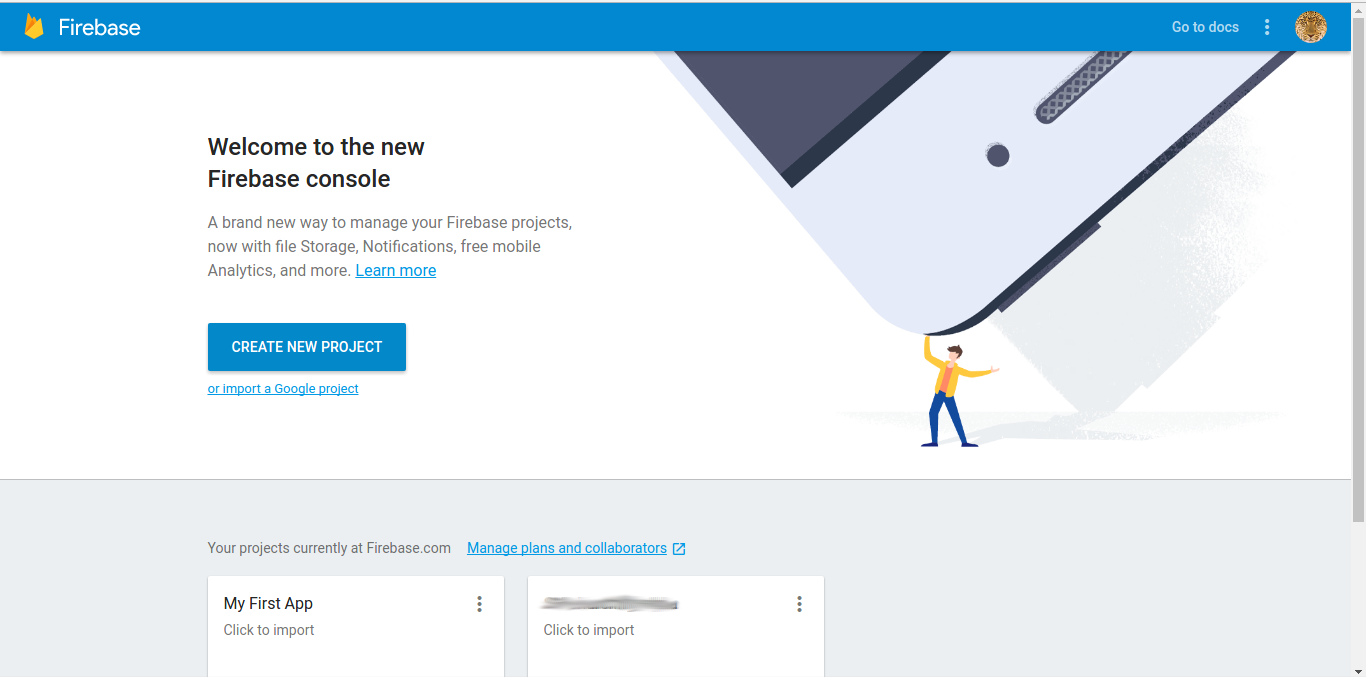
Create a new project, give it a name and enter your country.

Click the Gear icon in the top left and select Project settings -> CLOUD MESSAGING
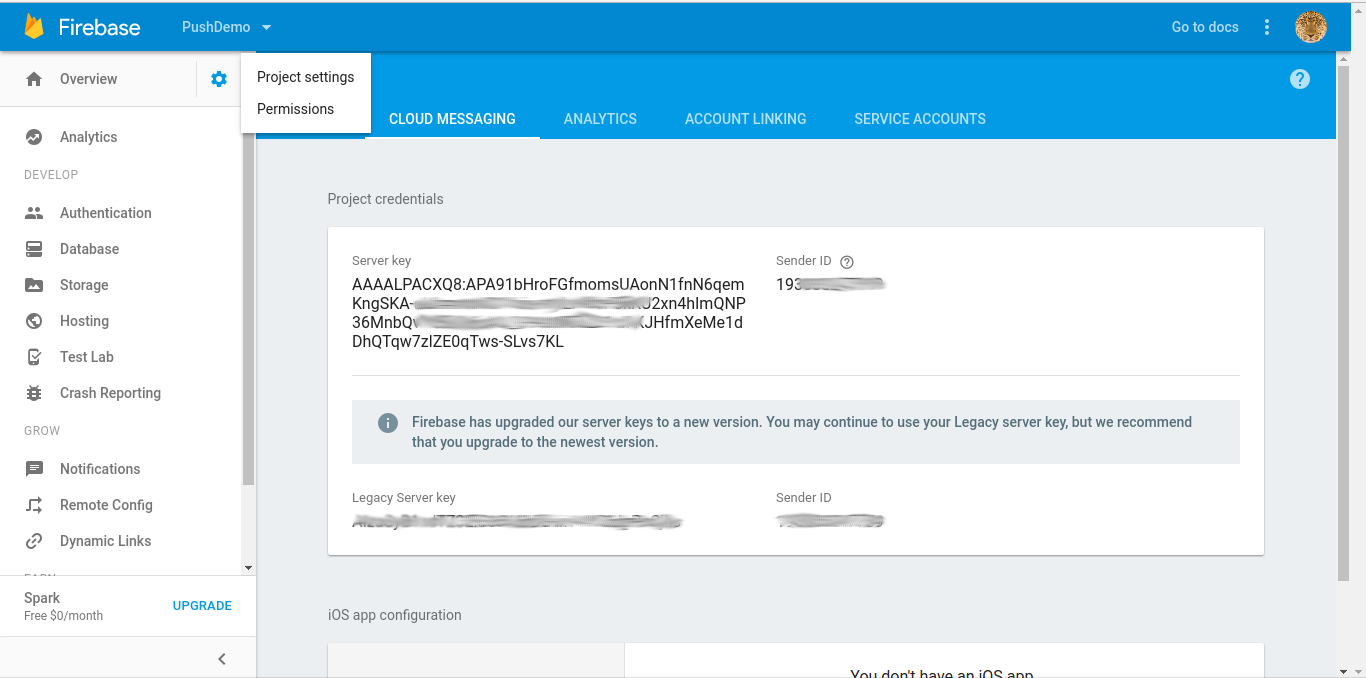
Take note of the two values highlighted in the image. The Server key, also known as the Google Server API key and the Sender ID, also known as the Google Project Number.
Step 4: Create OneSignal Account
Browse to https://www.onesignal.com and create an account.
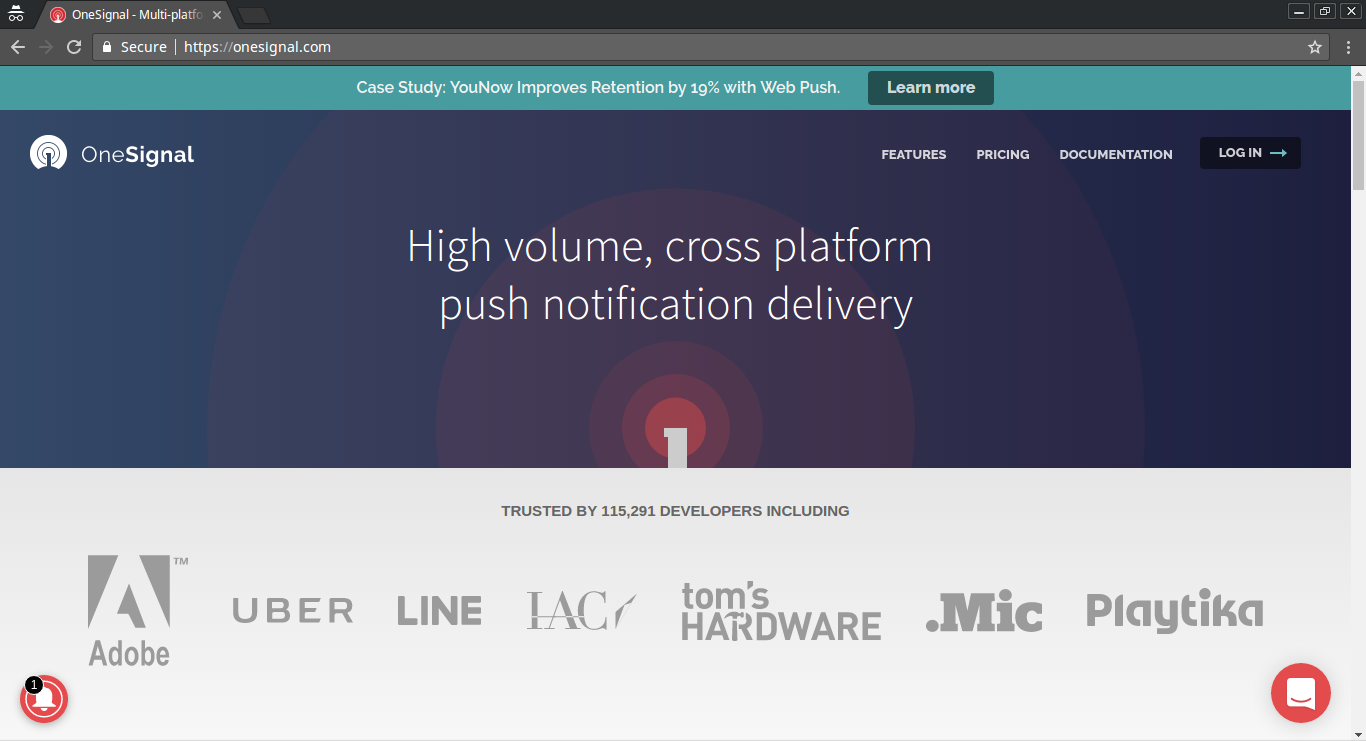
Confirm your email address and login
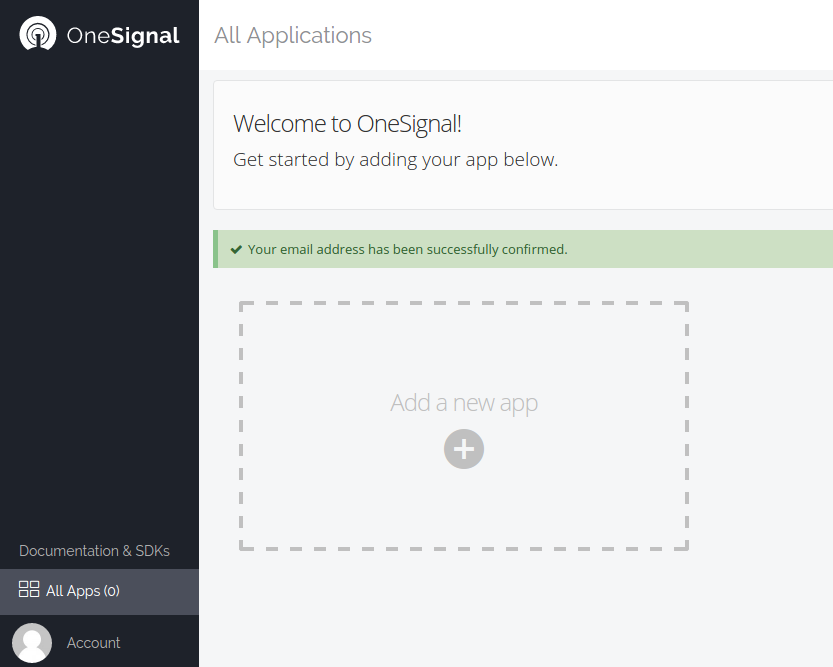
Click on Add new app and name it whatever you want. I would recommend that you give it the same name as you did your ionic project.
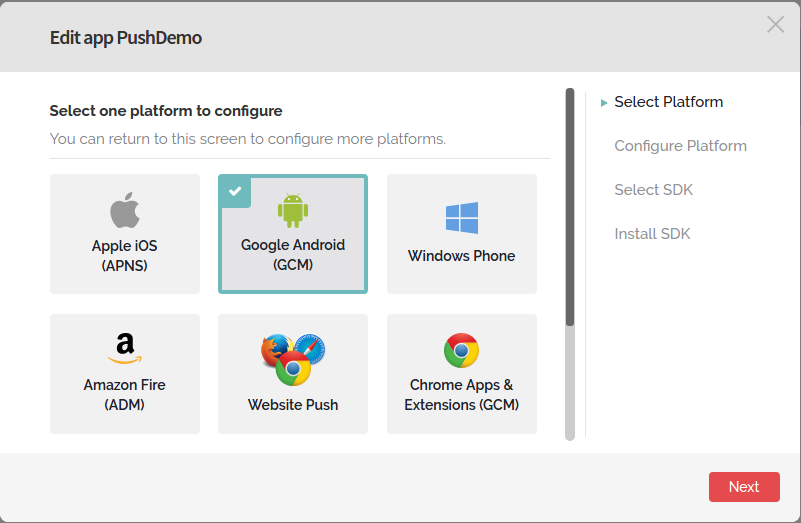
Next, select the platform that you want to configure with OneSignal push notifications. In this tutorial, I will be configuring push notifications for Android.
Enter your Google Server API Key and Google Project Number. These are the details you got from the Firebase console in step 3.
Next, select the target SDK for your app. In our case, we are making an Ionic app so you select, “PhoneGap, Cordova, Ionic, Intel XDK”
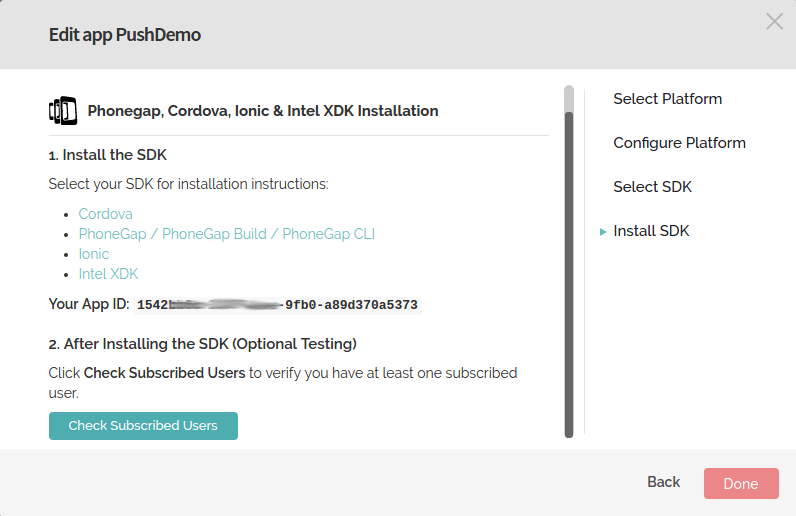
Take note of your OneSignal App ID. You will need this when integrating OneSignal into your app code.
Step 5: Integrating OneSignal into your ionic project
Go back to the command line window and from within your project directory run;
This will add the OneSignal plugin to your ionic project. This plugin gives our ionic app an API to access Push notifications. Otherwise, they would be unavailable to hybrid apps.
### Step 5a: Integrating OneSignal into Ionic 1
Next, navigate to your main ```app.js``` file *[project-directory]/www/js/app.js*
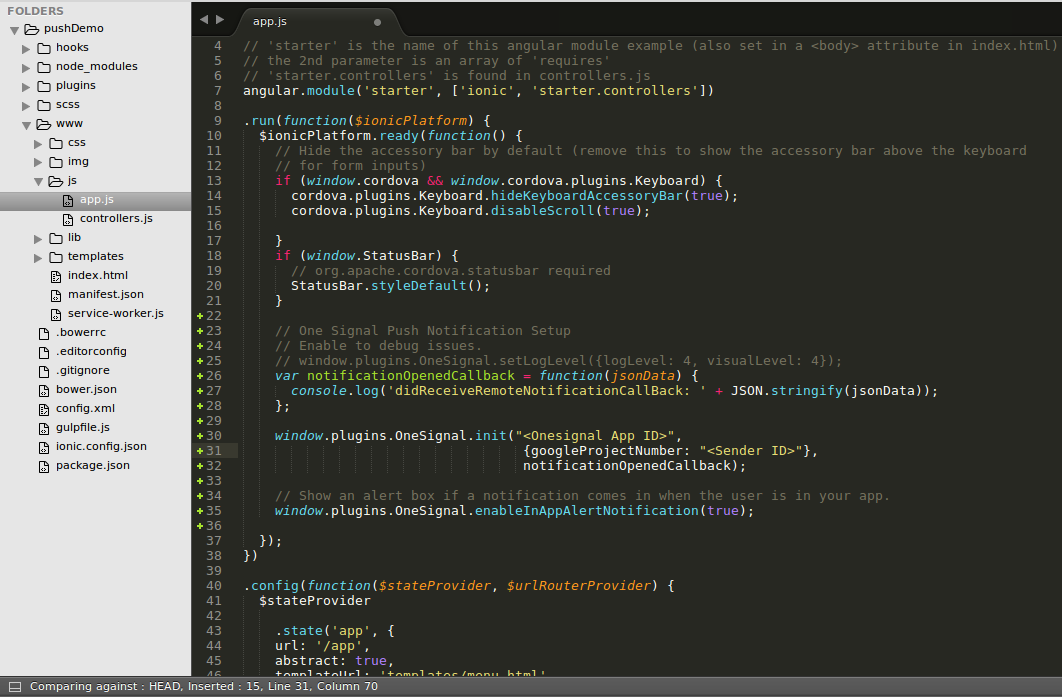
Add the following code to your ```$ionicPlatform.ready()``` function as above
// One Signal Push Notification Setup
// Enable to debug issues.
// window.plugins.OneSignal.setLogLevel({logLevel: 4, visualLevel: 4});
var notificationOpenedCallback = function(jsonData) {
console.log(‘didReceiveRemoteNotificationCallBack: ‘ + JSON.stringify(jsonData));
};
window.plugins.OneSignal.init(“
{googleProjectNumber: “
notificationOpenedCallback);
// Show an alert box if a notification comes in when the user is in your app.
window.plugins.OneSignal.enableInAppAlertNotification(true);
Make sure you enter your **App ID** and **Google Project Number**. Save the file.
### Step 5b: Integrating OneSignal into Ionic 2/3
Navigate to your ```app.component.ts``` file *[project-directory]/src/app/app.component.ts*
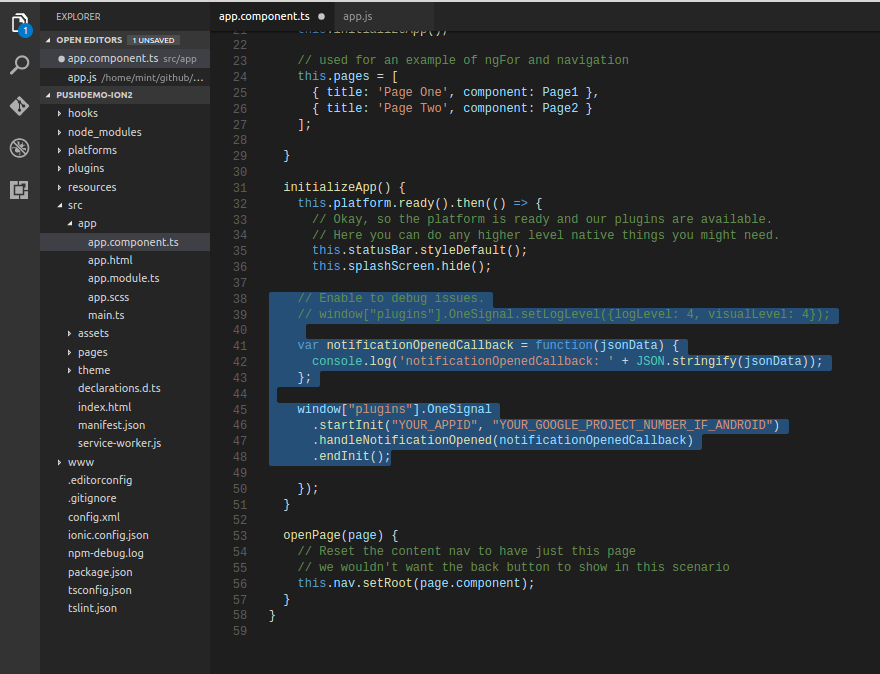
Add the following code to your ```this.platform.ready()``` function as above
// Enable to debug issues.
// window[“plugins”].OneSignal.setLogLevel({logLevel: 4, visualLevel: 4});
var notificationOpenedCallback = function(jsonData) {
console.log(‘notificationOpenedCallback: ‘ + JSON.stringify(jsonData));
};
window[“plugins”].OneSignal
.startInit(“
.handleNotificationOpened(notificationOpenedCallback)
.endInit();
Make sure you enter your **App ID** and **Google Project Number**. Save the file.

That's it! That's all you have to do to integrate the OneSignal code into your Ionic 1 or 2/3 app.

Next, connect your android testing device to your computer via USB cable.

Then compile and install the PushDemo app with the following command:
$ ionic build android && adb install -r
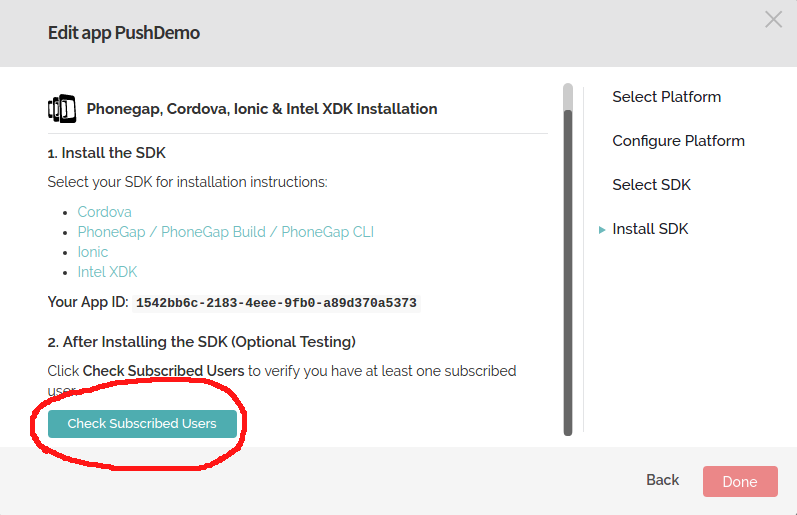
Next, run the app on your device so that it registers with the OneSignal servers. Then click Check Subscribed Users.
Step 6: Testing
Click on the pushdemo app
Click new push notification
Create a test notification then click preview. Next, click send.
You will immediately receive the push notification on your device.

OneSignal extra features
OneSignal has lots of other great features that you should explore further;
- Emojis in notifications
- Scheduled notifications
- Notification templates
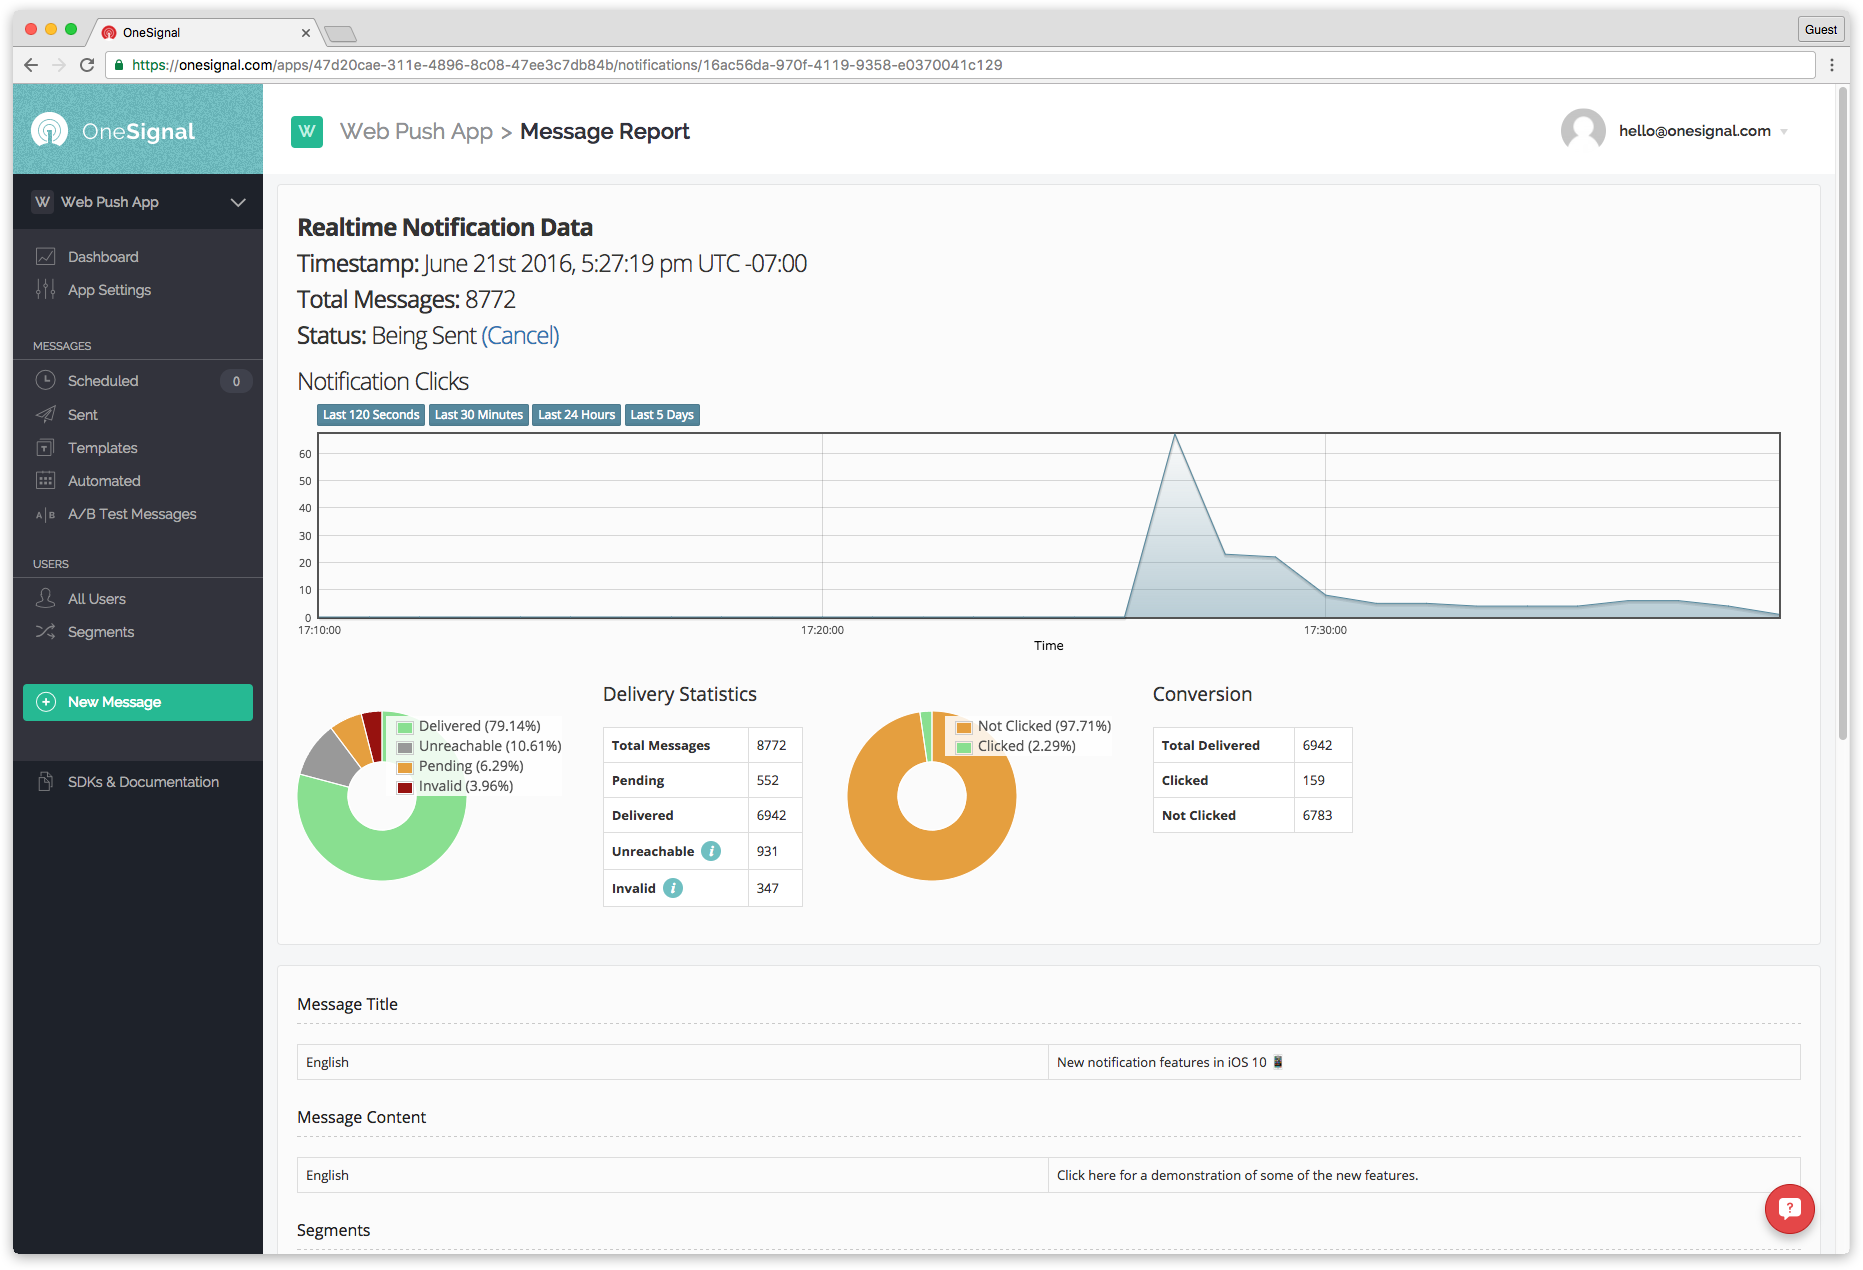
- Realtime analytics
- User segments
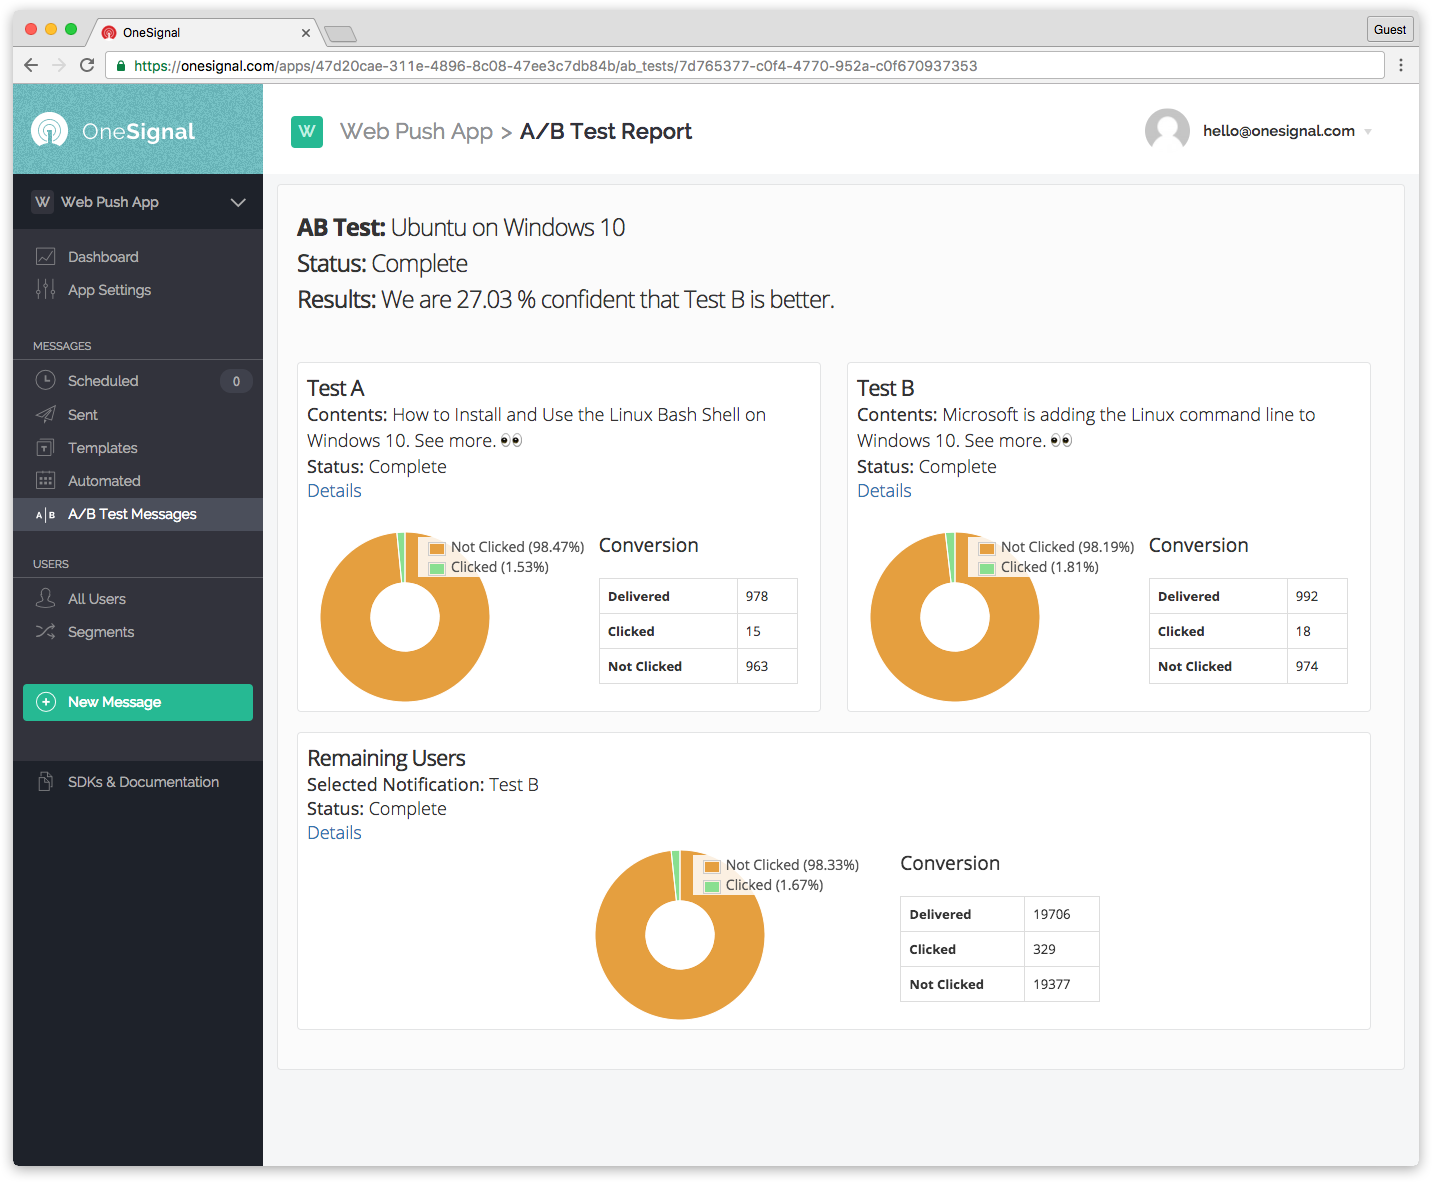
- Automatic Messages
References
-
Installing npm –
https://www.sitepoint.com/beginners-guide-node-package-manager/ -
Code repository – https://github.com/chmod-777/pushDemo
-
Ionic Framework Documentation – https://ionicframework.com/docs/
-
OneSignal Documentation – https://documentation.onesignal.com/


